
the Breville Test Kitchen
Haunted Cookies

the Smart Oven™ Air Fryer Pro
+1 more appliance
2 hrs 15 mins total time
40 mins active time
Medium
Makes 24 (approximately)
Ingredients
Measurements:
For the cookies
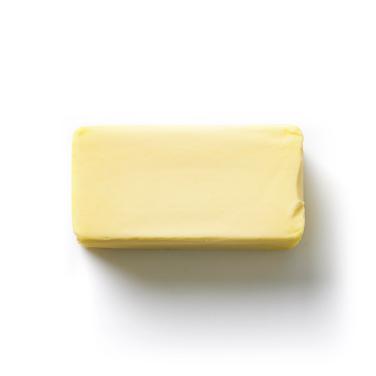 230 g unsalted butter
chopped, at room temperature
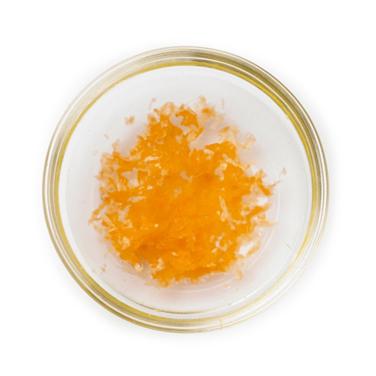 1 tbsp finely grated orange zest
 2 tsp vanilla extract
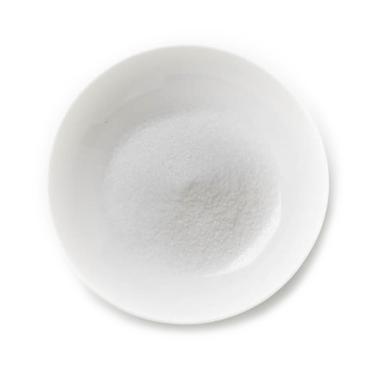 1 cup (200 g) superfine sugar
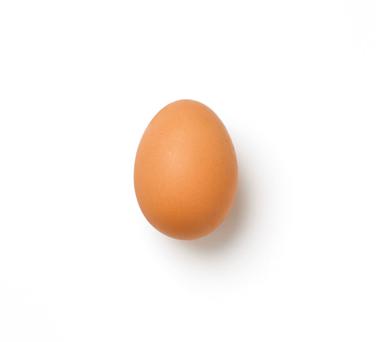
 2 large eggs
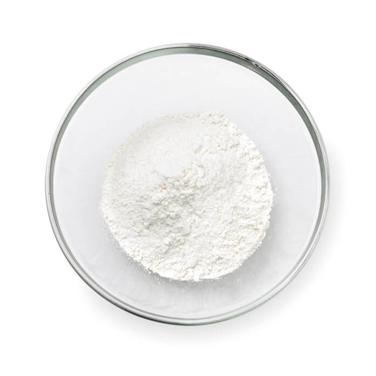 3⅓ cups (500 g) all-purpose flour
sifted
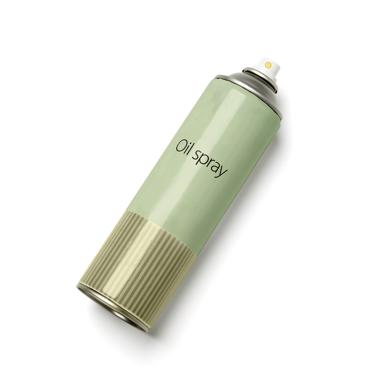 Cooking spray
For the icing
 ¼ cup (70 g) pasteurized egg whites
(2 large egg whites)
 1 tsp fresh lemon juice
 4 cups (560 g) powdered sugar
sifted, approximately
For decoration
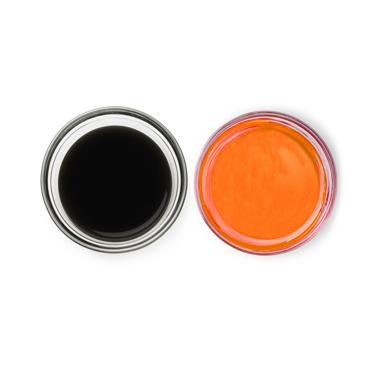 Black and orange gel food coloring
 Mini Edible Candy Eyeballs
Instructions
- 1
Place the butter, zest, vanilla, sugar and eggs in the bowl of a stand mixer with the paddle attachment and beat on medium speed until combined.
- 2
Add the sifted flour and mix on low speed until just combined.
- 3
Turn the dough out onto the countertop and lightly knead until smooth. Shape into a disc and flatten slightly.
- 4
Roll the dough between 2 sheets of parchment paper to 5mm thick. Refrigerate for 30 minutes, or until firm.
- 5
Lightly spray 2 baking sheets with oil and line with parchment paper.
- 6
Using a variety of 7cm cookie cutters, cut the dough into shapes. Place 6 cookies on each baking sheet and refrigerate for 15 minutes. Meanwhile, continue to the next step.
- 7
Bring the leftover dough together without overhandling and re-roll between 2 sheets of parchment paper to 5mm thick. Refrigerate until required. Meanwhile, continue to the next step.
- 8
Insert the wire racks into positions 3 and 6. Set the oven to Cookies, No Fan, 160°C, for 15 minutes, confirm Rotate Remind and press Start to preheat.
- 9
Once preheated, place the cookies in the oven and cook for 15 minutes. When the Rotate Remind signals, rotate and swap the baking sheets and continue cooking.
- 10
The cookies should be pale and just beginning to color around the edges. If not, cook them a little longer.
- 11
Remove the cookies from the oven and stand on the baking sheet for 5 minutes before transferring to a wire rack to cool completely. Once the baking sheets have cooled, re-line them with parchment paper and repeat with the remaining dough.
- 12
In a large bowl, lightly whisk the egg whites and lemon juice until frothy. Add the sifted sugar and stir to combine. The icing should be thick enough to pipe and hold its shape, but thin enough to spread.
- 13
Divide the icing into thirds. Keep one white and color the remaining black and orange.
- 14
Fold two of the piping bags over a tall glass and spoon the white and orange icing into the bags. Place the piping tube into the third bag and fill with the black icing.
- 15
Snip the tip of the piping bag to begin decorating. The easiest way to decorate, is to first outline the cookie with the icing, then fill the center. Stick on the eyeballs or any other decorations before the icing sets. Allow the cookies to stand for 15 minutes, or until the icing has completely set. Pipe the finer details on the icing.
Tip: Cover the tips of the piping bags that are not being used with a damp cloth to prevent them from drying out and forming a crust. - 16
Place the cookies on a board or platter and serve.