

the Breville Test Kitchen
Rich Chocolate Ice Cream
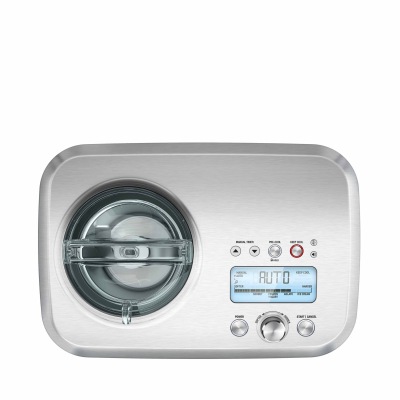
the Smart Scoop™
9 hrs 30 mins total time
30 mins active time
Medium
Makes 1 quart
Ingredients
Measurements:
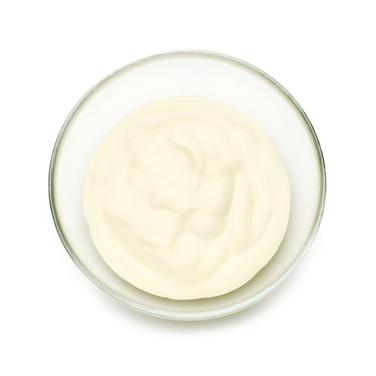 2½ cups (600 ml) heavy cream
 1 cup (240 ml) milk
 6 large egg yolks
at room temperature
 ⅔ cup (150 g) superfine sugar
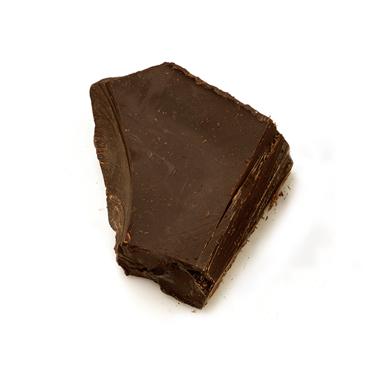 200 g semisweet or bittersweet chocolate (preferably 45% cocoa)
finely chopped
To serve
 Waffle cones
Instructions
- 1
Pour the cream and milk into a medium heavy-based saucepan. Stir over medium heat for 6-8 minutes until bubbles just start to form around the edge of the pan, do not boil. Remove from the heat.
- 2
Put the egg yolks and sugar in a large heatproof bowl. Whisk until pale and creamy. Pour ½ cup (120ml) of the hot cream mixture over the eggs and sugar and whisk to combine. Add the remaining cream mixture to the egg mixture, whisking to combine.
- 3
Wash and dry the saucepan. Pour the mixture back into the pan. Stir constantly with a wooden spoon over low heat for 10-12 minutes, until the custard has thickened and coats the back of the wooden spoon, do not boil.
- 4
Remove from the heat. Add the chocolate and whisk gently until the chocolate has melted and the custard is smooth.
- 5
Strain the custard into a heatproof bowl and cover the surface directly with plastic wrap to prevent a skin from forming. Refrigerate for 4 hours until cold.
- 6
Pour the chilled mixture into the ice cream bowl. Set the ice cream maker to the desired setting and churn.
- 7
Once the ice cream is frozen transfer to a freezer-safe container, just large enough to contain the ice cream. Freeze for 3-4 hours or overnight for firmer ice cream.
- 8
Scoop and serve in waffle cones or bowls.
- 9
Store ice cream in the freezer for up to 2 weeks. The ice cream will become very firm after freezing overnight, so remove from the freezer and stand at room temperature for 5-10 minutes before serving for easier scooping.
Tip: For chocolate chip ice cream, add ½ cup chocolate chips to the ice cream maker when the add MIX INS signals.