Between savoring the aroma, watching the dough gently rise, and of course, tasting that first bite of crisp crust and tender crumb, the art of breadmaking is truly rewarding.
Between savoring the aroma, watching the dough gently rise, and of course, tasting that first bite of crisp crust and tender crumb, the art of breadmaking is truly rewarding.
But the journey to reach that point isn’t always easy—especially if you’re working the dough by hand. That’s where a stand mixer comes into play. Kneading dough in stand mixer-equipped kitchens takes the guesswork (and elbow grease) out of the picture, saving you time and effort when tackling those tougher bread recipes.
In this guide, we’ll walk you through simple steps to transform your stand mixer into a baking powerhouse, ensuring consistent, bakery-worthy dough every time.
As any home baker knows, preparation is often the secret to success. So, before you begin, verify a few essential points.
While seemingly a minor detail, the right dough hook attachment can make a difference depending on your desired bread:
● C-shaped hooks are ideal for softer doughs, like a standard bread recipe and dinner rolls
● Spiral hooks work best with denser doughs, such as pizza dough or bagels
If your stand mixer has just one type of hook, don’t worry. Both options are excellent for general kneading tasks.
Next, ensure your stand mixer is ready for action:
● Make sure the machine is on a stable, dry surface.
● Verify that both the mixing bowl and dough hook attachment are securely locked into place.
● Check your stand mixer manual for the recommended kneading speed and settings.
With the basics covered, you’re ready to get started!
The stage is set—now, it’s time to get your hands (or rather, your mixer) doughy. Just follow these three simple steps to achieve perfectly kneaded homemade bread dough.
Depending on the type of bread you’re preparing, you will most likely need a combination of bread flour, instant yeast, and water for your ingredients. Add wet ingredients into the mixing bowl first, then layer dry ingredients on top. This method ensures better incorporation and prevents dry flour from sticking to the sides of the bowl. A quick stir with a spatula can help bring everything together evenly.
Set your mixer to a low-speed setting to avoid any flour clouds or surprise splatters, especially with wet dough. Low speeds allow the dough to blend gradually, ensuring even hydration and helping gluten develop into a smooth texture.
Finally, let your stand mixer do the heavy lifting. Kneading takes about 8 minutes for most breads, but always refer to your recipe. If needed, pause the mixer to scrape up any buildup along the sides or adjust the dough if it clings to the hook unevenly.
Wheat-colored, round, and smooth, well-kneaded dough is a beautiful sight. But hitting that sweet spot between over- and under-kneading is easier said than done.
Here are a few tips that can help.
One of the most reliable methods for spot-checking your dough is known as the “windowpane test.” Performing it is straightforward:
● Take a golf ball-sized piece of dough and stretch it between your fingers.
● If the dough stretches thinly enough to let light through (like a windowpane) without tearing, it’s perfectly kneaded.
● If the dough tears easily, it may require a few more minutes of kneading.
Since different recipes and types of dough have unique ideal textures, this quick trick is a versatile way to determine your dough’s quality.
The ideal dough is characterized by a smooth yet elastic texture. A gentle press should reveal dough that yields easily and springs back slowly. You should also notice that it no longer sticks to the sides of the bowl during kneading, but pulls away cleanly.
Pro tip: After kneading in your stand mixer, take out the dough and hand-knead for about 30 seconds. This final touch smooths out the surface and helps you assess whether it’s ready for rising.
While a stand mixer certainly makes things easier, it also introduces some other potential challenges. Keep an eye out for common mistakes like:
● Over-kneading – Signs include a bleached coloration and tight, unworkable texture that tears easily. Overworked dough produces tough, chewy bread with stale flavor notes.
● Under-kneading – Dough that’s under-kneaded lacks structure, elasticity, and bounce. It often feels extra-tacky and may struggle to rise properly.
● Using high speeds – Faster might sound better, but high speeds can backfire by overheating the dough and possibly overloading your mixer’s motor.
To avoid these issues (and the less-than-delicious bread that results), aim for a balanced approach. Maintain a low speed on your mixer and monitor the dough’s texture closely. Remember, you can always knead more—but over-kneaded dough is much harder to fix.
When you’re done with your bread kneading, be sure to clean your stand mixer thoroughly to preserve its condition and keep it ready at all times.
Breadmaking is more than a recipe—it’s a form of art. And like any art, it takes time and practice to master. While a stand mixer can simplify the process, crafting those golden, fluffy loaves still relies on your keen eye and baker’s intuition.
But what if you had a trusty partner to help you achieve perfect results—every time?
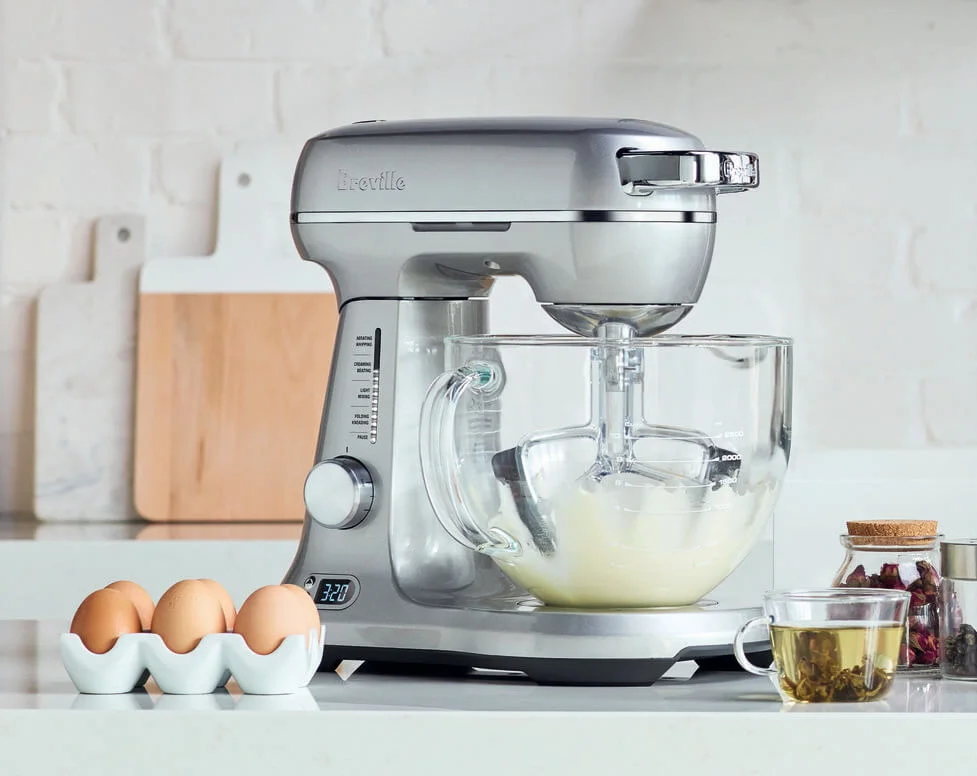
Breville’s Bakery Chef stand mixer is that companion. Equipped with a commercial-grade motor, precision-engineered dough hook, and integrated timer, the Bakery Chef ensures every knead is consistent and effortless.
Experience the joy of baking made simple. Explore Breville’s range of stand and hand mixers today.
Sources:
1. Bakestarters. 4 Types of Kitchen Mixer Attachments and What They Are Used For. https://bakestarters.com/blogs/education/4-types-of-mixer-attachments
2. King Arthur Baking. What is the windowpane test for bread dough? https://www.kingarthurbaking.com/blog/2022/10/14/what-is-the-windowpane-test-for-bread-dough
3. America's Test Kitchen. How to Knead Dough Like a Professional Baker. https://www.americastestkitchen.com/articles/374-Bread-Baking-101-How-to-Knead-Dough