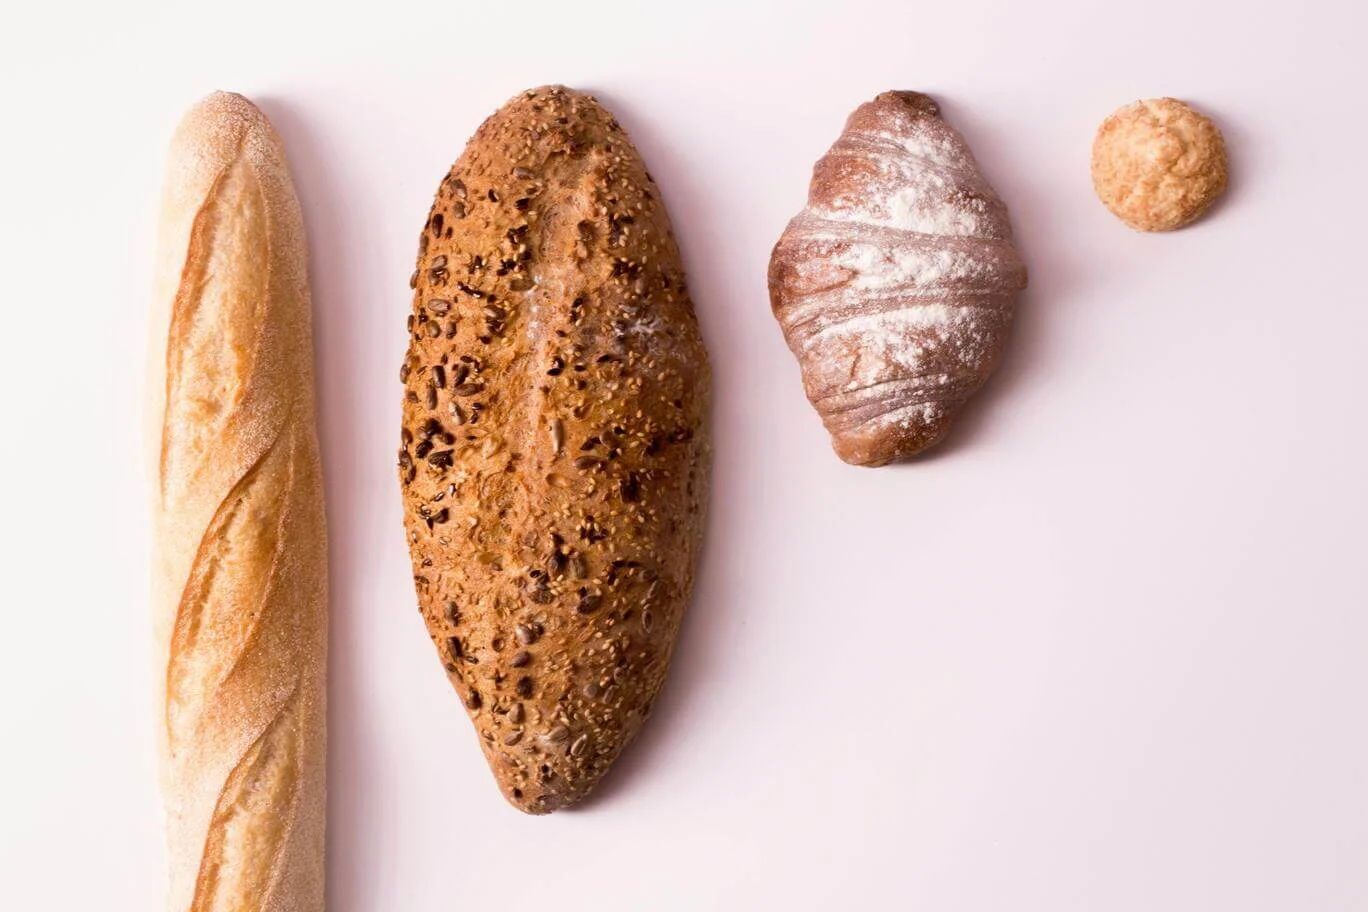
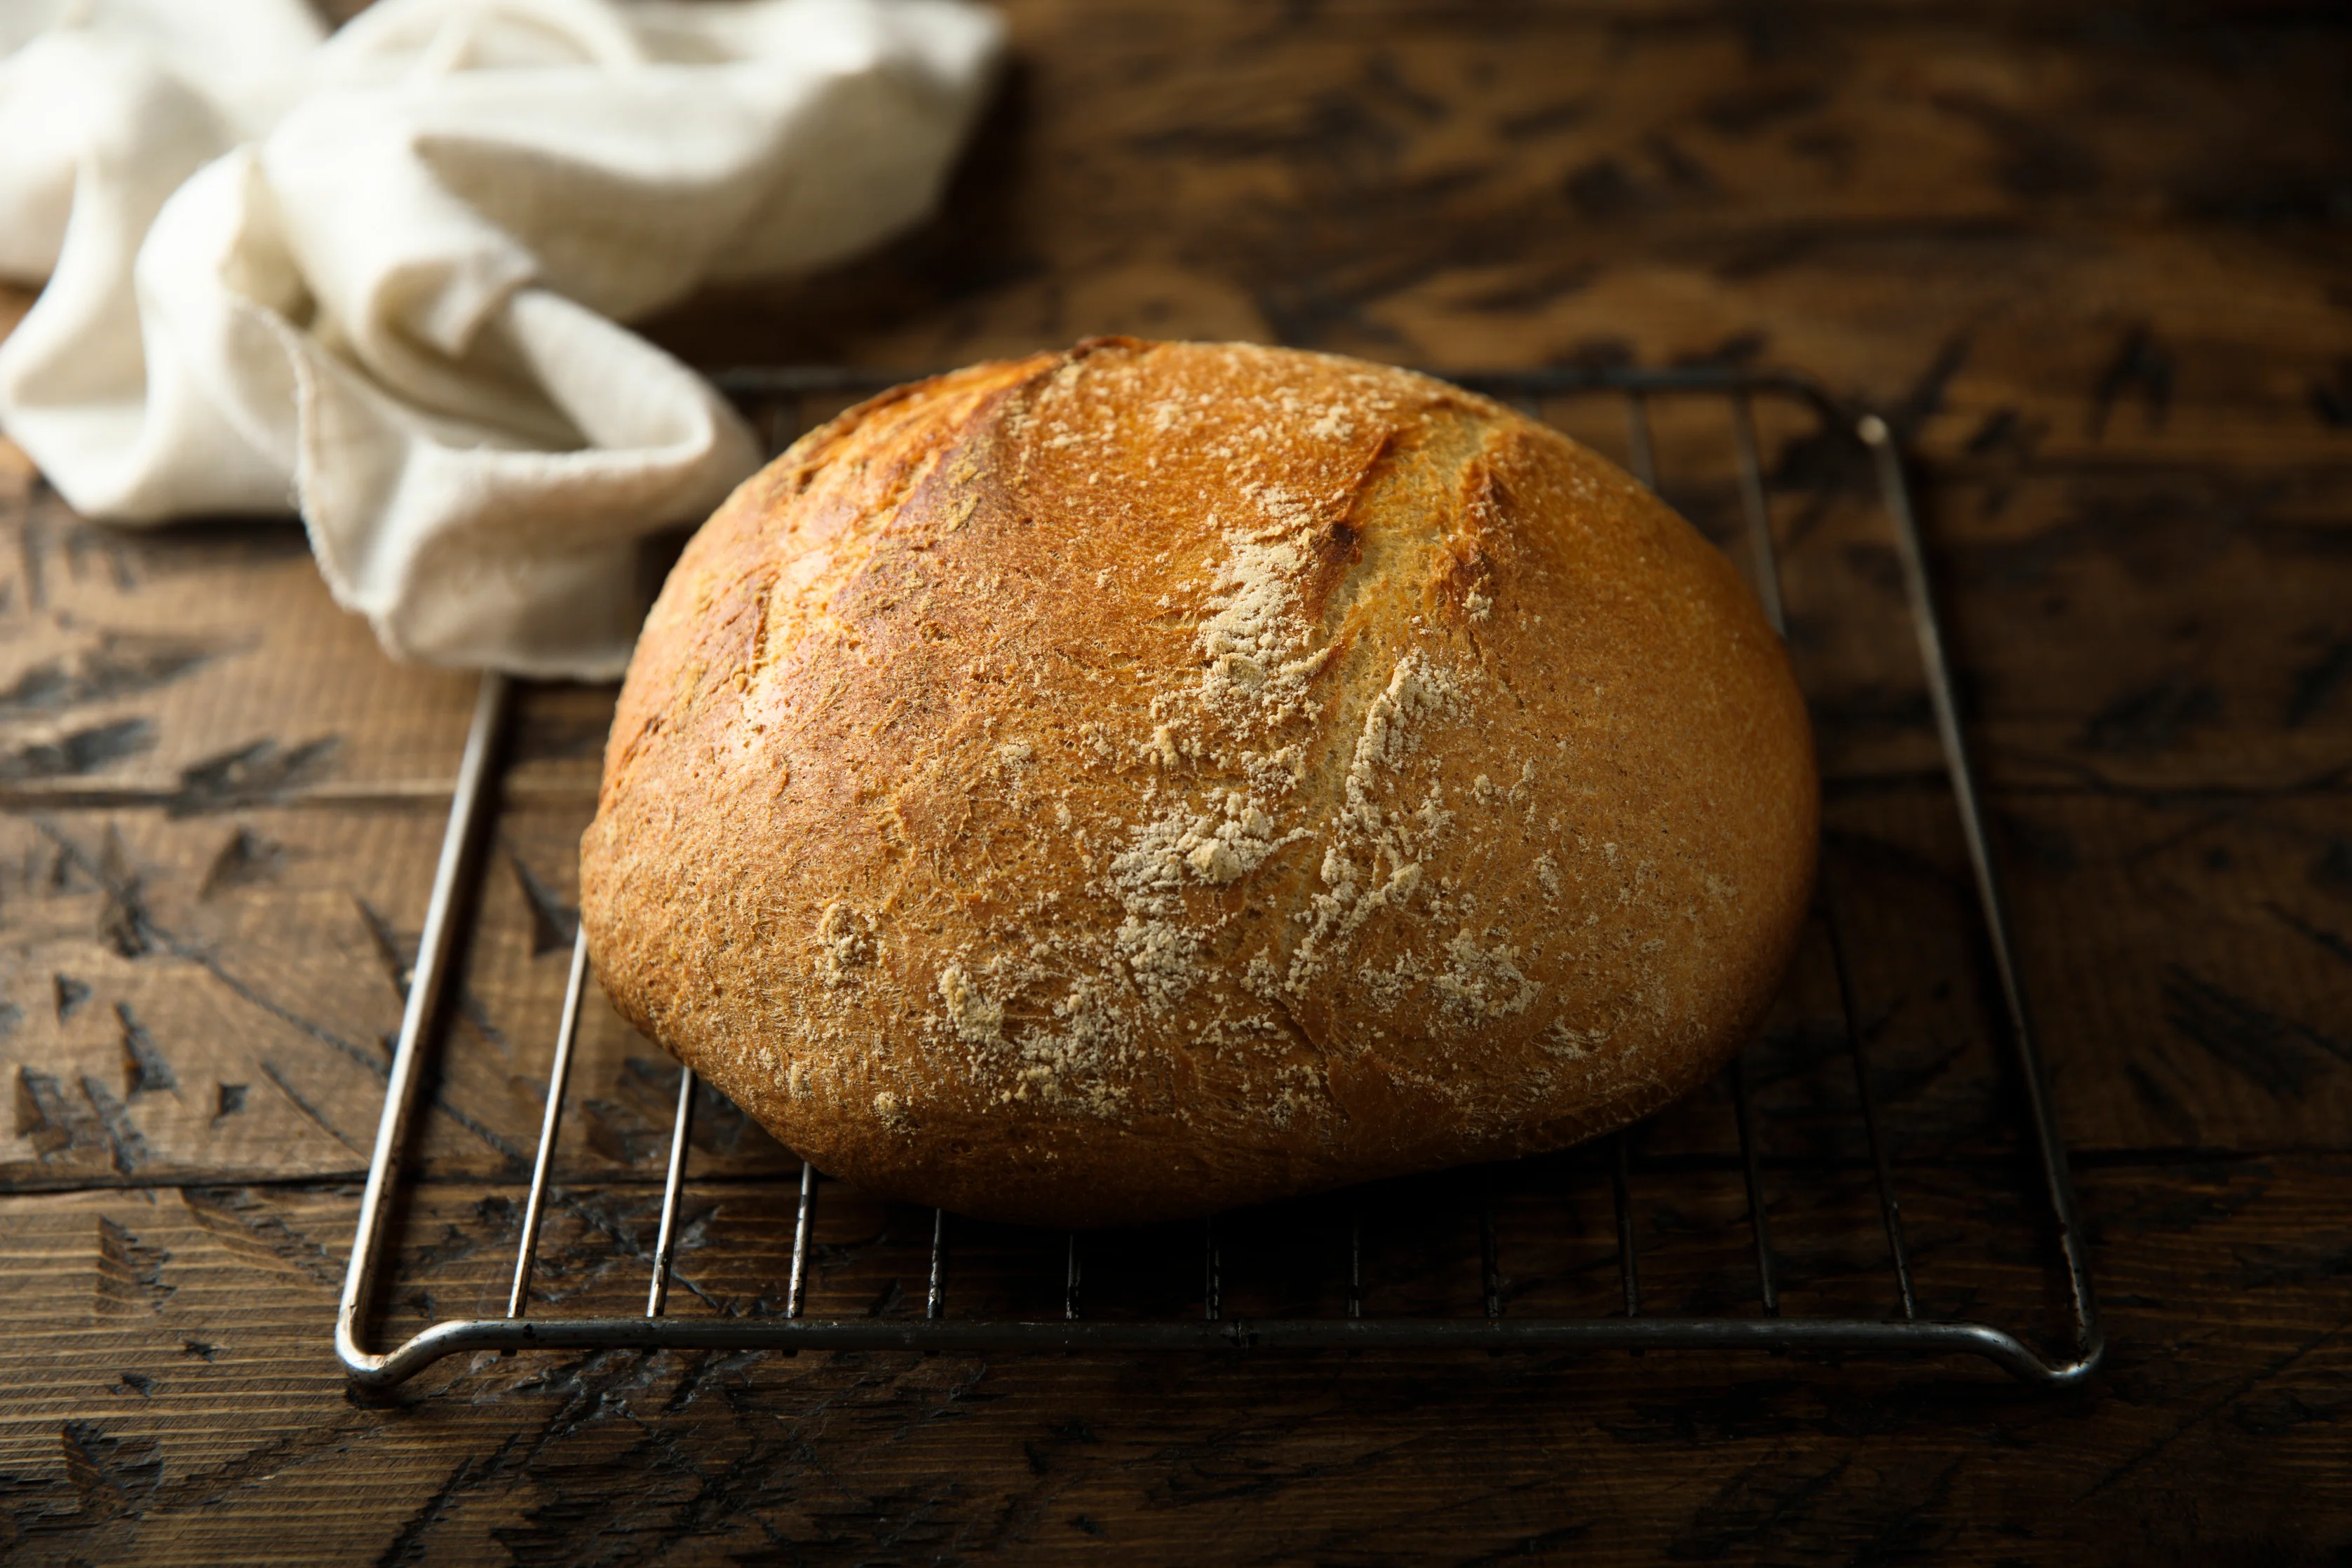
Whether you’re a budding chef or a seasoned pro, these popular types of bread are perfect for baking from the comfort of your home kitchen.
Bread making 101: The essentials
Before you sprinkle flour across your cutting board, you need to prepare your master bread-baking space. From multigrain to a braided challah loaf, here’s what you need to know to get started on your first loaf.
Baking tools you’ll need
For conventional home bread making, you might need to assemble some items to prepare and then bake the bread, such as a large mixing bowl, dough scraper, wooden spoon, loaf pan, and so on.
That said, if you’re looking to save time and reduce clutter, you could opt to use a high-quality bread maker instead.
These handy kitchen appliances will reduce prep work and give you more consistent results. Simply pour the liquid ingredients into the bread pan first and then follow with the dry ingredients. Then let the bread maker work its magic, kneading, rising, and baking the loaf—all without you having to lift a finger.
Foundational ingredients
The foundation for any type of bread is a simple combination of flour, water, yeast, and salt.
Flour—the backbone of bread—provides food for the yeast and structure of the loaf. Water hydrates the flour and activates the protein in the flour to form the gluten. Yeast feeds the sugars in the flour, causing the bread to rise. Finally, salt enhances the loaf’s flavor and regulates yeast activity, adding depth to your bread's taste while helping the yeast develop properly.
Note: Different types of bread may call for different types of flour. Some of the more common flours include all-purpose flour, bread flour, rye flour, and whole wheat flour.
That said, various types of bread will also include additional ingredients, such as:
● Fats – Butter, olive oil, and vegetable oil—add taste, texture, moisture, and prolong freshness. If unsalted butter is used, it should be cut into 1⁄2” pieces and brought to room temperature.
● Baking powder – A leavening agent for yeast-free bread. Works during mixing and again during baking. Can be substituted for baking soda.
● Baking soda – Another leavening agent for yeast-free bread. Cannot be substituted for baking powder.
● Eggs – Add flavor, richness, and tenderness. Liquid egg substitutes, powdered eggs, and whites can be used.
● Ascorbic acid (vitamin C) – A bread improver, ascorbic acid strengthens the bread, makes it lighter, higher in volume, more stable, and enhances its keeping qualities. Use a large pinch per 3 cups of flour.
● Glazes – Enhances flavor and gives a professional finish. Can be sprinkled with poppy, sesame, or caraway seeds. Types of glazes include glaze, melted butter, milk glaze, sweet icing glaze.
● Milk – Enhances flavor and increases nutritional value. All liquids, including milk, should be 80°F (27°C) before adding to the bread pan.
● Sugar – Feeds yeast, adds sweetness and helps brown the crust. White sugar, brown sugar, honey and golden syrup are all suitable. If using honey or golden syrup, count it as an additional liquid.
4 types of breads perfect for your bread maker
Do you know how to use a bread machine to make different types of loaves? Some of our favorite bread varieties include:
● Potato sour cream and chives bread
● Italian focaccia
● Honey whole wheat cinnamon raisin bread
● Corinna’s Brioche
Potato sour cream and chives bread
Next time you’re craving a BLT sandwich, skip the store-bought loaves. This bread is perfect for cold-cut sandwiches or paired with smoked salmon and cream cheese. It’s crusty on the outside and soft and airy on the inside.
To make your own potato sour cream and chives bread, you’ll need the following ingredients:
● 1 cup of potato water
● 1 cup mashed potato
● ¾ cup sour cream
● 3 tablespoons fresh chives, chopped
● 3 tablespoons unsalted butter, room temperature
● ⅔ teaspoons salt
● 2 tablespoons granulated sugar
● 4 ½ cups bread flour
● ⅔ teaspoons vital wheat gluten (optional)
● 2 tablespoons milk powder
● 2 teaspoons active dry yeast
Begin by cooking the potato in water until it's fork-tender. Make sure to reserve enough potato water as required for the recipe.
Once you've assembled your ingredients, ensure the collapsible paddle of your bread maker is securely attached and upright. Add the ingredients to the bread pan in the order listed above. Secure the bread pan inside the baking chamber, choose the BASIC setting, pick your crust color and loaf size, and press START.
Italian focaccia
Focaccia is a staple of Italian cuisine. The soft, airy interior encased in a golden, flattened crust is perfect for topping with cold-cut meats, fresh veggies, and mozzarella cheese.
Want to capture the authentic Italian essence? Then, you’ll need to be patient and plan ahead. Unlike some other types of bread, Focaccia can’t be baked on the same day that the dough is prepped. For this recipe, start the day prior to whenever you wish to serve the bread.
Focaccia requires dough that undergoes a pre-ferment, also known as a “biga.” By combining water, flour, and a pinch of yeast, then letting that biga ferment for 12–24 hours, you set the stage for a dramatic structural transformation.
The ingredients are:
Biga
● ¾ cup water (55°F or 13°C)
● ¾ cup bread flour
● A pinch of active dry yeast
Focaccia Dough
● 1 cup water
● 4 tablespoons olive oil
● 2 teaspoons salt
● 1 teaspoon granulated sugar
● 2 cups bread flour
● ½ teaspoon active dry yeast
● Cornmeal or semolina for flouring the board and your hands
Instructions
Making Focaccia in a breadmaker is a bit more intricate than some other breads, but using a breadmaker is still much faster than doing it by hand. If you’re unsure how to make bread with a bread maker, here are easy-to-follow steps:
1. Combine biga ingredients in a bowl, ensuring a thorough mix. Given its dry nature, the biga will be somewhat stiff. Shield it with plastic wrap, and let it rest at room temperature for up to 12 hours.
2. Secure the collapsible paddle in your bread machine. Introduce water, and then add the divided biga pieces, breaking them manually.
3. Integrate the remaining ingredients in the previously specified sequence. Lock the bread pan inside the machine and select the DOUGH PIZZA setting. Kick off the process with the START button.
4. Post kneading, extract the dough and divide it into two portions on a floured surface. Using your palms, spread the dough until it's about 0.5mm thick, and place it on a baking sheet layered with olive oil and a generous coating of cornmeal or semolina.
5. Brush the top with more olive oil and let it rise, achieving a puffy texture in roughly 25 minutes.
6. Set your oven to 400°F (205°C). Once the dough is ready, brush it again with olive oil, sprinkle your chosen toppings, and bake on the oven's lowest shelf for about 20–25 minutes, until it reaches a rich brown hue.
Allow your Focaccia to cool slightly before diving in, ensuring the best flavors and texture.
Honey whole wheat cinnamon raisin bread
Looking for a heartier loaf with a rich, sweet flavor?
Honey whole wheat has a fluffy, moist texture, and the cinnamon raisin adds a lingering sweetness ideal for pairing with your morning coffee or afternoon tea.
Ingredients:
● 1 and ¾ cups water
● ½ cup honey
● 2 and ¼ tablespoons unsalted butter (room temperature)
● 2 and ¼ teaspoons salt
● 2 cups bread flour
● 2 cups whole wheat flour
● ½ tablespoon vital wheat gluten (optional)
● 1 tablespoon ground cinnamon
● ¾ tablespoons milk powder
● 2 and ½ teaspoons bread machine or instant yeast
● ½ cup raisins
Instructions:
1. As always, begin by ensuring the collapsible paddle of your bread machine is securely in place.
2. Sequentially add the ingredients to your bread pan, starting with the water, honey, butter, salt, flours, gluten (if using), cinnamon, milk powder, and then yeast.
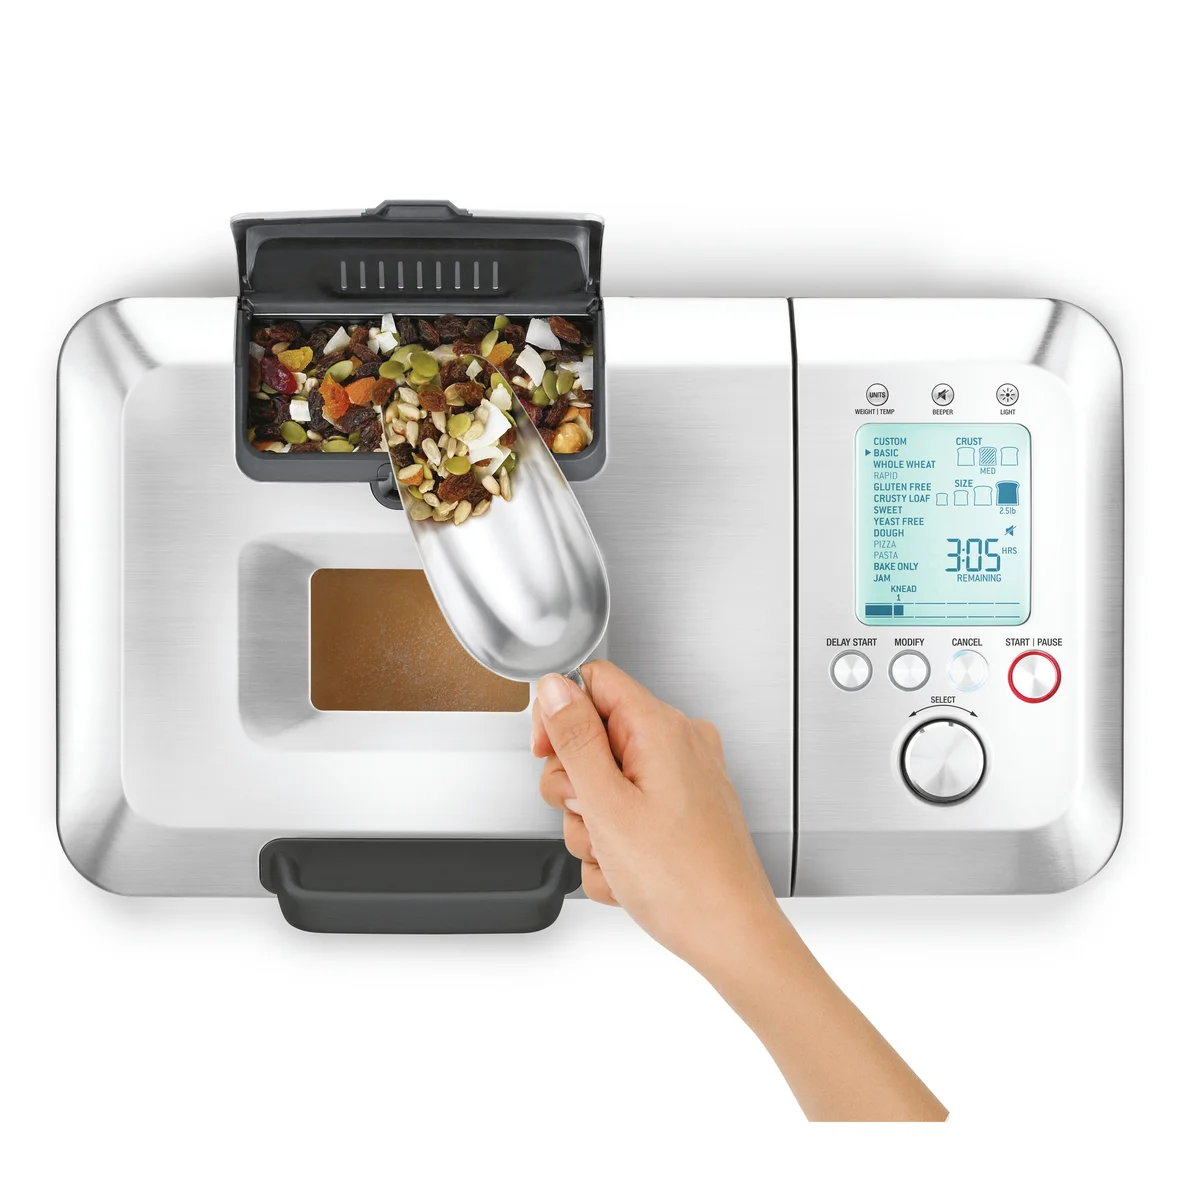
3. Lock the bread pan inside the machine, and add raisins to the Automatic Fruit & Nut Dispenser.
4. Select the WHOLE WHEAT option, pick your desired shade of crust and loaf size, and then hit the START button.
As the baking cycle progresses, the aroma of honey, wheat, and cinnamon will fill your kitchen. Once the bread is finished, carefully remove it using oven mitts, and allow it to cool on a wire rack before slicing.
Corinna’s brioche
Want to make the most delectable homemade French Toast of all time? Then brioche is the bread for you.
Brioche bread is a rich and tender bread with a high egg and butter content, which lends a buttery sweet flavor and pillowy texture. Beyond a decadent French Toast, it's also excellent for gourmet sandwiches, and luxurious bread puddings, or can even be enjoyed simply with a dab of butter and jam.
This sweet bread recipe requires:
● 3 eggs (room temperature, 60g)
● ¼ cup milk
● 1 and ½ teaspoons salt
● 3 tablespoons granulated sugar
● 2 and ½ cups bread flour
● 1 tablespoon vital wheat gluten
● 2 and ½ teaspoons active dry yeast
● ½ cup unsalted butter, cut into ¼ inch pieces
● Egg wash made of 1 egg, beaten, and 1 tablespoon water (optional)
The directions are relatively straightforward:
1. After ensuring the collapsible paddle is secured, slightly beat the eggs and place them in the bread pan.
2. Add the remaining ingredients in the order listed—except for the butter.
3. Secure the bread pan and select the DOUGH BREAD setting on your bread machine. Press START to initiate the process.
4. As the 'knead 2' phase begins, open the lid and introduce the butter gradually, piece by piece. Ensure each piece is nearly incorporated before adding the next. Close the lid once all of the butter is added.
5. Once the cycle concludes, cover the bread pan with plastic wrap and place it in the refrigerator for an overnight rest.
6. The following day, allow the bread pan to acclimatize to room temperature for 30 minutes. Transfer the dough onto a floured surface, dividing it into 8 equal portions, and molding each into a smooth ball.
7. Place these dough balls back in the bread pan in two rows of four balls each.
8. Allow the brioche to rise, aiming for a doubling in size which will take around an hour. If using, apply the egg wash on top at this point.
9. Reintroduce the bread pan to the baking chamber, selecting the BAKE ONLY mode,and adjust the baking duration to 1 hour.
Once baked, carefully remove the bread using oven mitts. Let it cool for about 15 minutes within the pan, then transfer to a wire rack.
Try the Custom Loaf™bread maker from Breville
In the past, you needed to go to a bakery for a fresh loaf of bread. But, with a bread maker, you can explore the diverse and delicious world of bread from the comfort of your kitchen.
Whether it’s an Italian Ciabatta, French Brioche, Crusty Potato Bread, or Sprouted Wheat, the possibilities are limitless—especially with a Custom Loaf™bread maker at your side.
From kneading to baking, this powerful machine simplifies and streamlines the bread-making process at home, creating crusty loaves worthy of a professional bakery.
Try the Custom Loaf™ today.
Sources:
1. All Recipes. Crusty Potato Bread. https://www.allrecipes.com/recipe/20158/crusty-potato-bread/
2. Saladinajar. How To Make a Beautiful Ciabatta. https://saladinajar.com/recipes/how-to-make-ciabatta-with-a-bread-machine/
3. Second Spring Foods. Bread Machine Sprouted Wheat Bread. https://secondspringfoods.com/bread-machine-sprouted-wheat-bread/
4. Food.com Bread Machine Brioche. https://www.food.com/recipe/bread-machine-brioche-130770