If your loaf comes out dense and heavy instead of soft and airy, it’s a common issue and one that’s easy to troubleshoot.
Bread machine bread is too dense: What to do
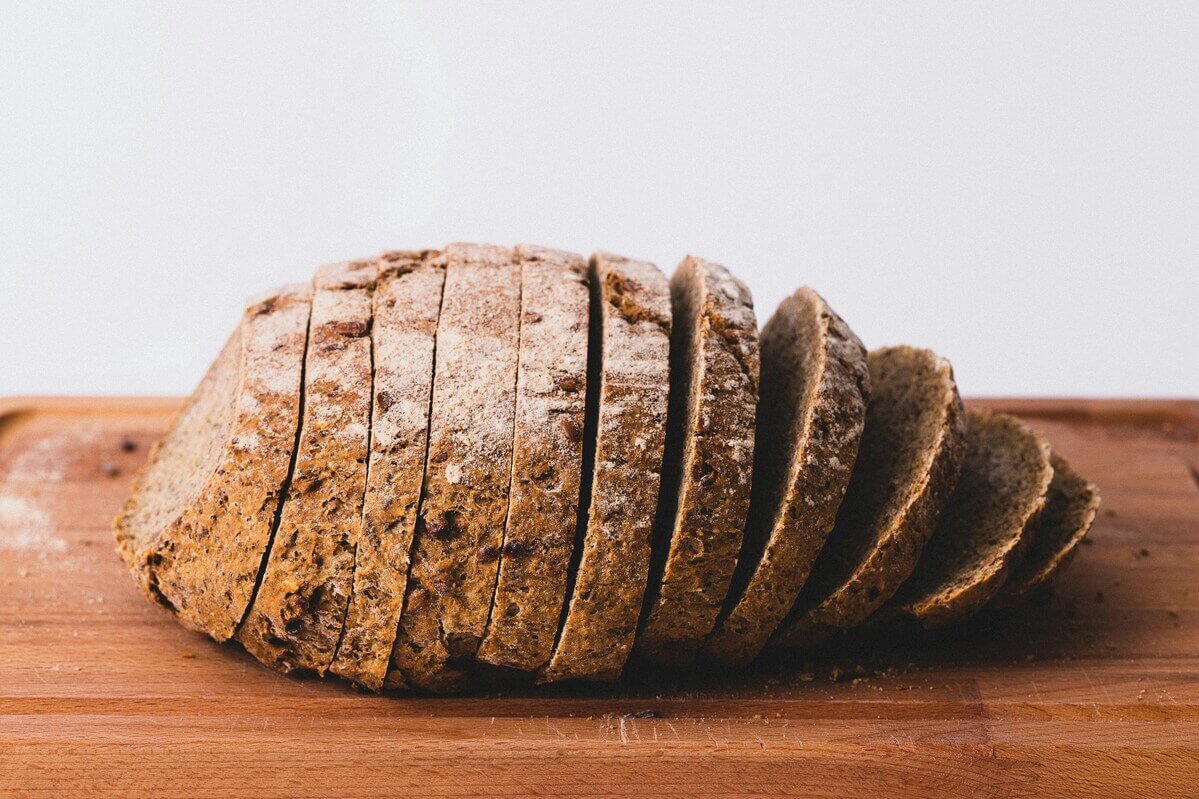
One of the most frequent frustrations among bread makers is discovering that their bread machine bread is too dense. You followed the recipe, added everything to the pan, and waited, only to find a heavy, compact loaf with minimal rise.
Fortunately, dense bread isn’t the end of the road. A few small tweaks to your ingredients, technique, or machine settings can make a noticeable difference. This guide explores the most common causes of dense machine bread and what to do about them.
What causes dense bread?
A dense loaf typically results from poor gluten development, insufficient gas production from yeast, or an imbalance of wet and dry ingredients. While the bread machine automates many steps, it also means that even small errors in measurement or timing can produce less-than-ideal results.
Common Reasons Your Bread Is Too Dense
Let’s break down the most likely culprits behind a dense loaf. These issues can stem from the ingredients themselves or how they're handled by the machine.
Incorrect flour type or measurement
Flour type and accuracy in measurement play a major role in how well your bread turns out. Using low-protein flour, like cake or all-purpose, reduces gluten formation and affects texture. Too much flour, meanwhile, stiffens the dough, making it harder for the yeast to create lift.
Too little yeast or expired yeast
Yeast is responsible for giving your bread its structure and height. If you're using old or expired yeast, or simply not enough of it, the dough won’t produce enough gas to expand properly, leading to a dense, compact loaf.
Not enough liquid or fat
Too little water, milk, butter, or oil results in dry dough that won’t stretch or rise efficiently. Moisture is essential for gluten development and even baking.
Old or improperly stored ingredients
Ingredients like flour, yeast, and salt degrade over time or when exposed to moisture and heat. Even if they look fine, they may no longer behave predictably in a bread machine recipe.
Machine settings or program mistakes
Each bread machine program is designed for a specific type of recipe. Using the wrong setting—like running a whole wheat cycle for white bread—can disrupt kneading, proofing, and baking times. Just as with oven settings, choosing the right program ensures the dough develops properly from start to finish.
Breville bread machines include clearly labeled programs designed to support optimal kneading, proofing, and baking across various bread types, helping reduce errors and improve outcomes. See more tips on how to use a bread machine.
Ingredient fixes
When dense bread is the result of unbalanced ingredients, the good news is that it's usually easy to fix. These adjustments will help you get better results in your next loaf, especially if you're using different flour types or baking in variable conditions.
Choosing the right flour (bread flour vs. all-purpose)
Use bread flour instead of all-purpose whenever possible. Its higher protein content supports stronger gluten development and better rise. If you're aiming for a softer crumb, blend bread flour with a small amount of all-purpose.
Adjusting yeast and sugar for a better rise
Always use fresh, properly stored yeast. For best results in a bread machine, opt for instant or bread-machine-specific yeast. Adding a teaspoon of sugar helps activate the yeast, especially in wheat flour blends or cooler kitchens.
Getting liquid ratios right
The correct water or milk ratio is key to a light texture. Too little, and the dough becomes tight and dry; too much, and it’s sticky and underdeveloped. Start by adjusting in one-tablespoon increments based on how your dough looks early in the cycle.
Technique and machine tips
Beyond ingredients, the way your machine mixes and processes the dough affects the outcome. These practical tips can help you avoid common mechanical issues.
Checking dough consistency early in the cycle
About 5–10 minutes into kneading, open the lid and check the dough. It should form a smooth, elastic ball, not overly sticky or crumbly. If needed, add a bit more flour or liquid at this stage to correct the texture. This kind of hands-on adjustment is one advantage in the bread machine vs. oven comparison, where real-time tweaks can lead to better, more consistent results.
Using the correct program (basic, whole wheat, etc.)
Choose the setting that matches your flour type and recipe. The basic or white bread program is ideal for standard loaves, while the whole wheat cycle adds more kneading and rising time for denser flours.
Avoiding overmixing or undermixing
Each cycle in your machine is calibrated for specific dough characteristics. Using the wrong one can result in underdeveloped gluten (too little kneading) or a collapsed loaf (over-kneading). When in doubt, refer to your machine's manual for program guidance.
Environmental factors to consider
Even if your recipe and settings are spot-on, the environment can introduce variability. Here's how to account for external conditions.
Room temperature and humidity
Yeast is sensitive to temperature and humidity. In warmer or more humid kitchens, the dough may proof too quickly, compromising structure. In cooler settings, it may not rise enough. You may need to adjust your liquid or yeast amounts slightly based on seasonal conditions.
Altitude adjustments
At higher altitudes, lower air pressure accelerates rising and affects moisture retention. To avoid collapse, you might need to reduce yeast, increase liquid, and shorten proofing times. Consult your bread machine manual if you're baking at elevation.
Bonus tips for light, fluffy bread
These small enhancements can elevate your loaf from good to bakery-worthy, especially when using wheat flour or whole grain recipes.
Adding vital wheat gluten
A tablespoon of vital gluten can help low-protein flours like wheat or all-purpose perform better in the machine. It strengthens the dough and boosts rise, especially in denser loaves.
Letting the dough rest before baking
If your machine allows, pause after the final knead and let the dough sit for 10–15 minutes. This extra rest time allows the gluten to relax and can lead to a higher rise and lighter texture—an approach that also improves structure when you're trying to perfect making crispy pizza crust at home.
Using fresh ingredients every time
Replace older flour, yeast, and butter regularly. If the issue with dense bread persists, starting fresh can resolve lingering quality problems without needing to change the recipe.
How to fix dense bread in your bread machine
When bread from your bread machine is too dense, the solution is usually a matter of fine-tuning. From switching to bread flour to monitoring dough consistency early in the cycle, small changes can lead to big improvements.
Breville designs high-performance bread machines with features that support better mixing, rising, and baking, giving home bakers more control and consistency in every loaf. Explore all our top kitchen appliances today.
Sources:
1. Serious Eats. Breadmaking 101: The Science of Baking Bread (and How to Do It Right). https://www.seriouseats.com/breadmaking-101-the-science-of-baking-bread-and-how-to-do-it-righ