Embarking on the journey of how to dehydrate fruit opens up a new world of possibilities, from easy-to-pack snacks for the kids to efficient preservation of pantry goods. It’s also a simple process—only requiring in-season fruits and akitchen appliance with a dehydrator setting.
From selecting the best fruits to the art of drying them to perfection, this guide aims to equip you with everything you need to seal nature’s bounty into delicious, dehydrated delights.
Selecting the right fruits for dehydration
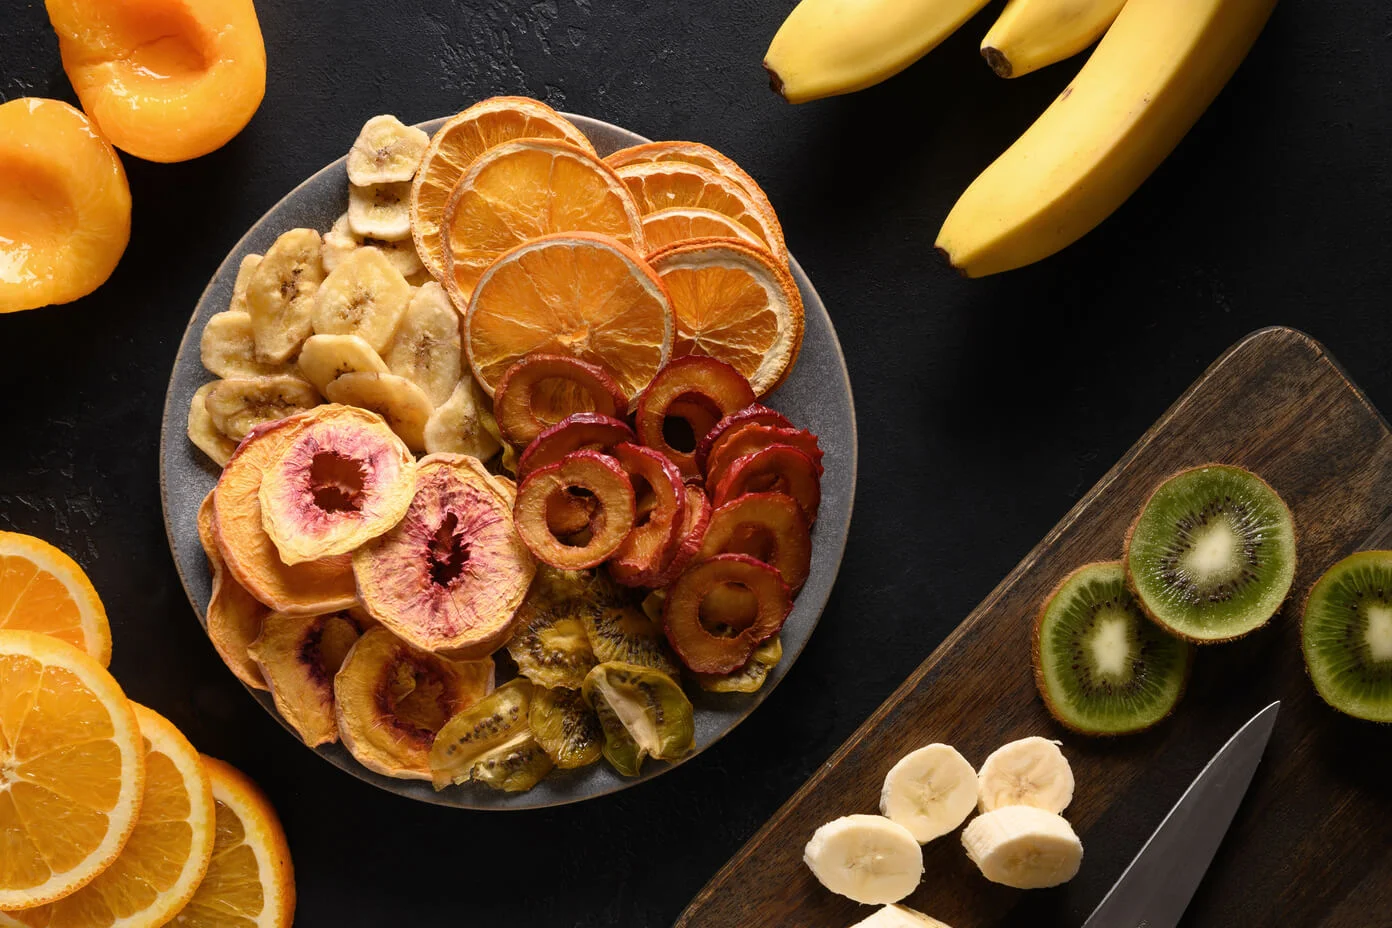
The first step in the process of how to dehydrate fruit is selection. All fruits can be dehydrated, but some are better able to retain their sweetness and develop that lovely leathery texture. Popular choices for dehydration include:
● Apples
● Bananas
● Cherries
● Peaches
● Strawberries
● Kiwis
In addition to the type of fruit, balanced ripeness is also important. Overripe fruit may become too soft after dehydration, whereas unripe fruit might not have developed its full flavor potential.
Preparing and cleaning fresh fruit
With your chosen fruits in hand, there are three basic steps to prepare them properly before turning them into dried fruit:
1. Start by washing your fruits and gently dabbing them dry with a clean towel.
2. Peel your fruits if necessary. Fruits with edible peels, such as grapes, apples, or cherries, generally can be left intact.
3. Finally, it’s time to cut thin slices. While the specifics vary by fruit, the goal is to have pieces small and thin enough to fully dehydrate while maintaining a uniform size for even drying.
Through this preparation, you ensure your fruits are clean, groomed, and ready for successful dehydration.
Enhancing flavor: Optional pre-treatments
While dehydrating your fruit is straightforward, there are optional pre-treatment steps that can significantly enhance your fruits’ flavor, color, and shelf life:
● Preserved color and longevity – To prevent fruits like apples and pears from browning, pre-soak them in lemon water for 5 to 10 minutes.
● Creative flavor additions – Consider a light dusting of cinnamon on apples or a drizzle of honey on strawberries for a unique twist.
● Sweet shelf-life enhancements – Candy your fruit with a 15 to 20-minute simple syrup bath. While this increases drying time, it’ll make for a treat you won’t soon forget.
Though optional, these steps can add an extra layer of complexity to your dehydrated fruits. They’re also helpful if you’re exploring similar fruit-based drying techniques, such as how to make dehydrated fruit leather.
Choosing between sun drying and using a food dehydrator
The drying method you choose depends on your desired level of convenience and the climate in your area. Sun drying is an economical and eco-friendly method, but it requires a hot, dry climate of around 85°F or more, plus protection from pests.
In contrast, a dehydrator gives you control over temperature and drying time. It also eliminates the risk of outside contamination and generally offers more consistent results.
How to use a dehydrator
Once preparations are complete, utilizing the dehydrator is a fairly simple four-step dehydration process:
1. Set the dehydrator's temperature according to the manufacturer's instructions. Most fruits are dehydrated at temperatures between 125°F and 135°F.
2. Let the dehydrator run until the fruits reach your desired dryness level. This can take anywhere between 6 to 36 hours, depending on the fruit type and thickness.
3. Once finished, switch off the dehydrator and let the fruit cool for a few hours. The fruit should be leathery in texture, without any moisture pockets.
Through these simple steps, fruit dehydration can provide you with a never-ending supply of healthy snacks that are as delicious as they are convenient. Stored within an airtight container in a cool, dark place, properly dehydrated fruit can last for months.
Using a dehydrator to make fruit leather
With a dehydrator, you can further expand your healthy snack repertoire by learning how to make dehydrated fruit leather. Here's a brief guide on how to use a dehydrator:
● Blend ripe fruits into a smooth puree using a blender or food processor. Aim for a consistency similar to that of a thick smoothie, adding honey or sugar as necessary.
● Spread the puree evenly on your dehydrator’s silicone mat or sheet, leaving a little space around the edges.
● Dry at 135°F for 4-8 hours, or until the surface is no longer tacky.
● Once cooled, cut it into strips and roll them up in parchment paper. Store these homemade fruit leather rolls in an airtight container.
By mastering the creation of dehydrated fruit leather, you add another dimension to preserving and enjoying your favorite fruits as a delicious and healthy treat.
Seal nature’s bounty with Breville
Embracing the art of dehydrating fruit opens up an exciting array of snack possibilities, from banana chip and citrus fruit, to tangy raspberry fruit leather—and having the right tools on hand makes the drying process even easier.
At Breville, we offer a range of quality, user-friendly kitchen appliances to simplify and streamline your fruit dehydration efforts.
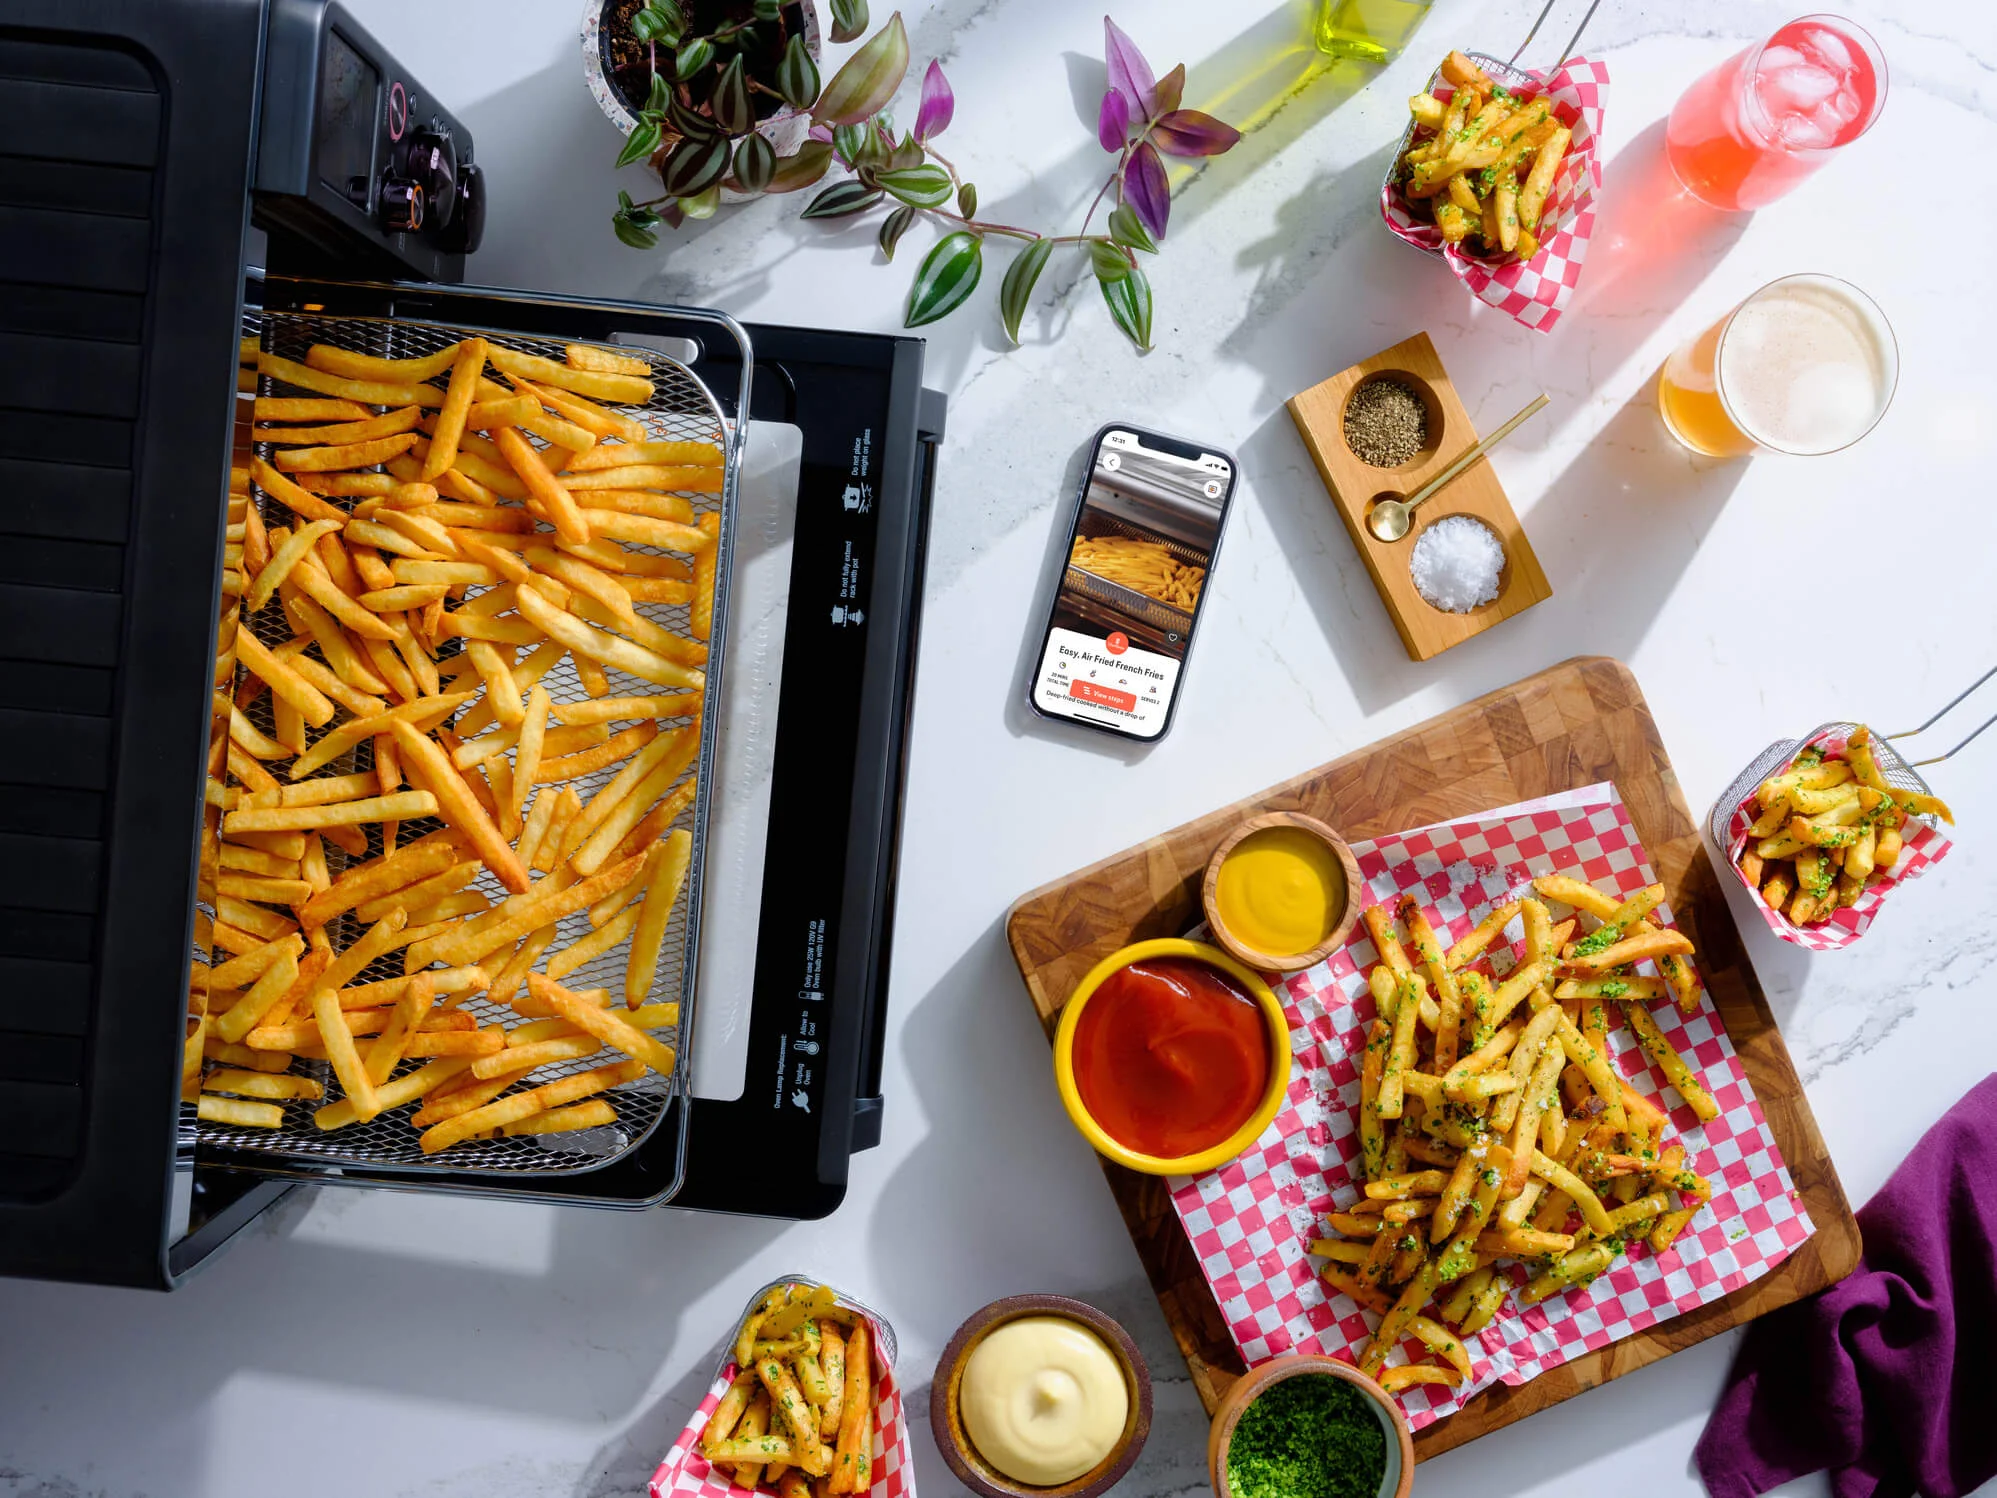
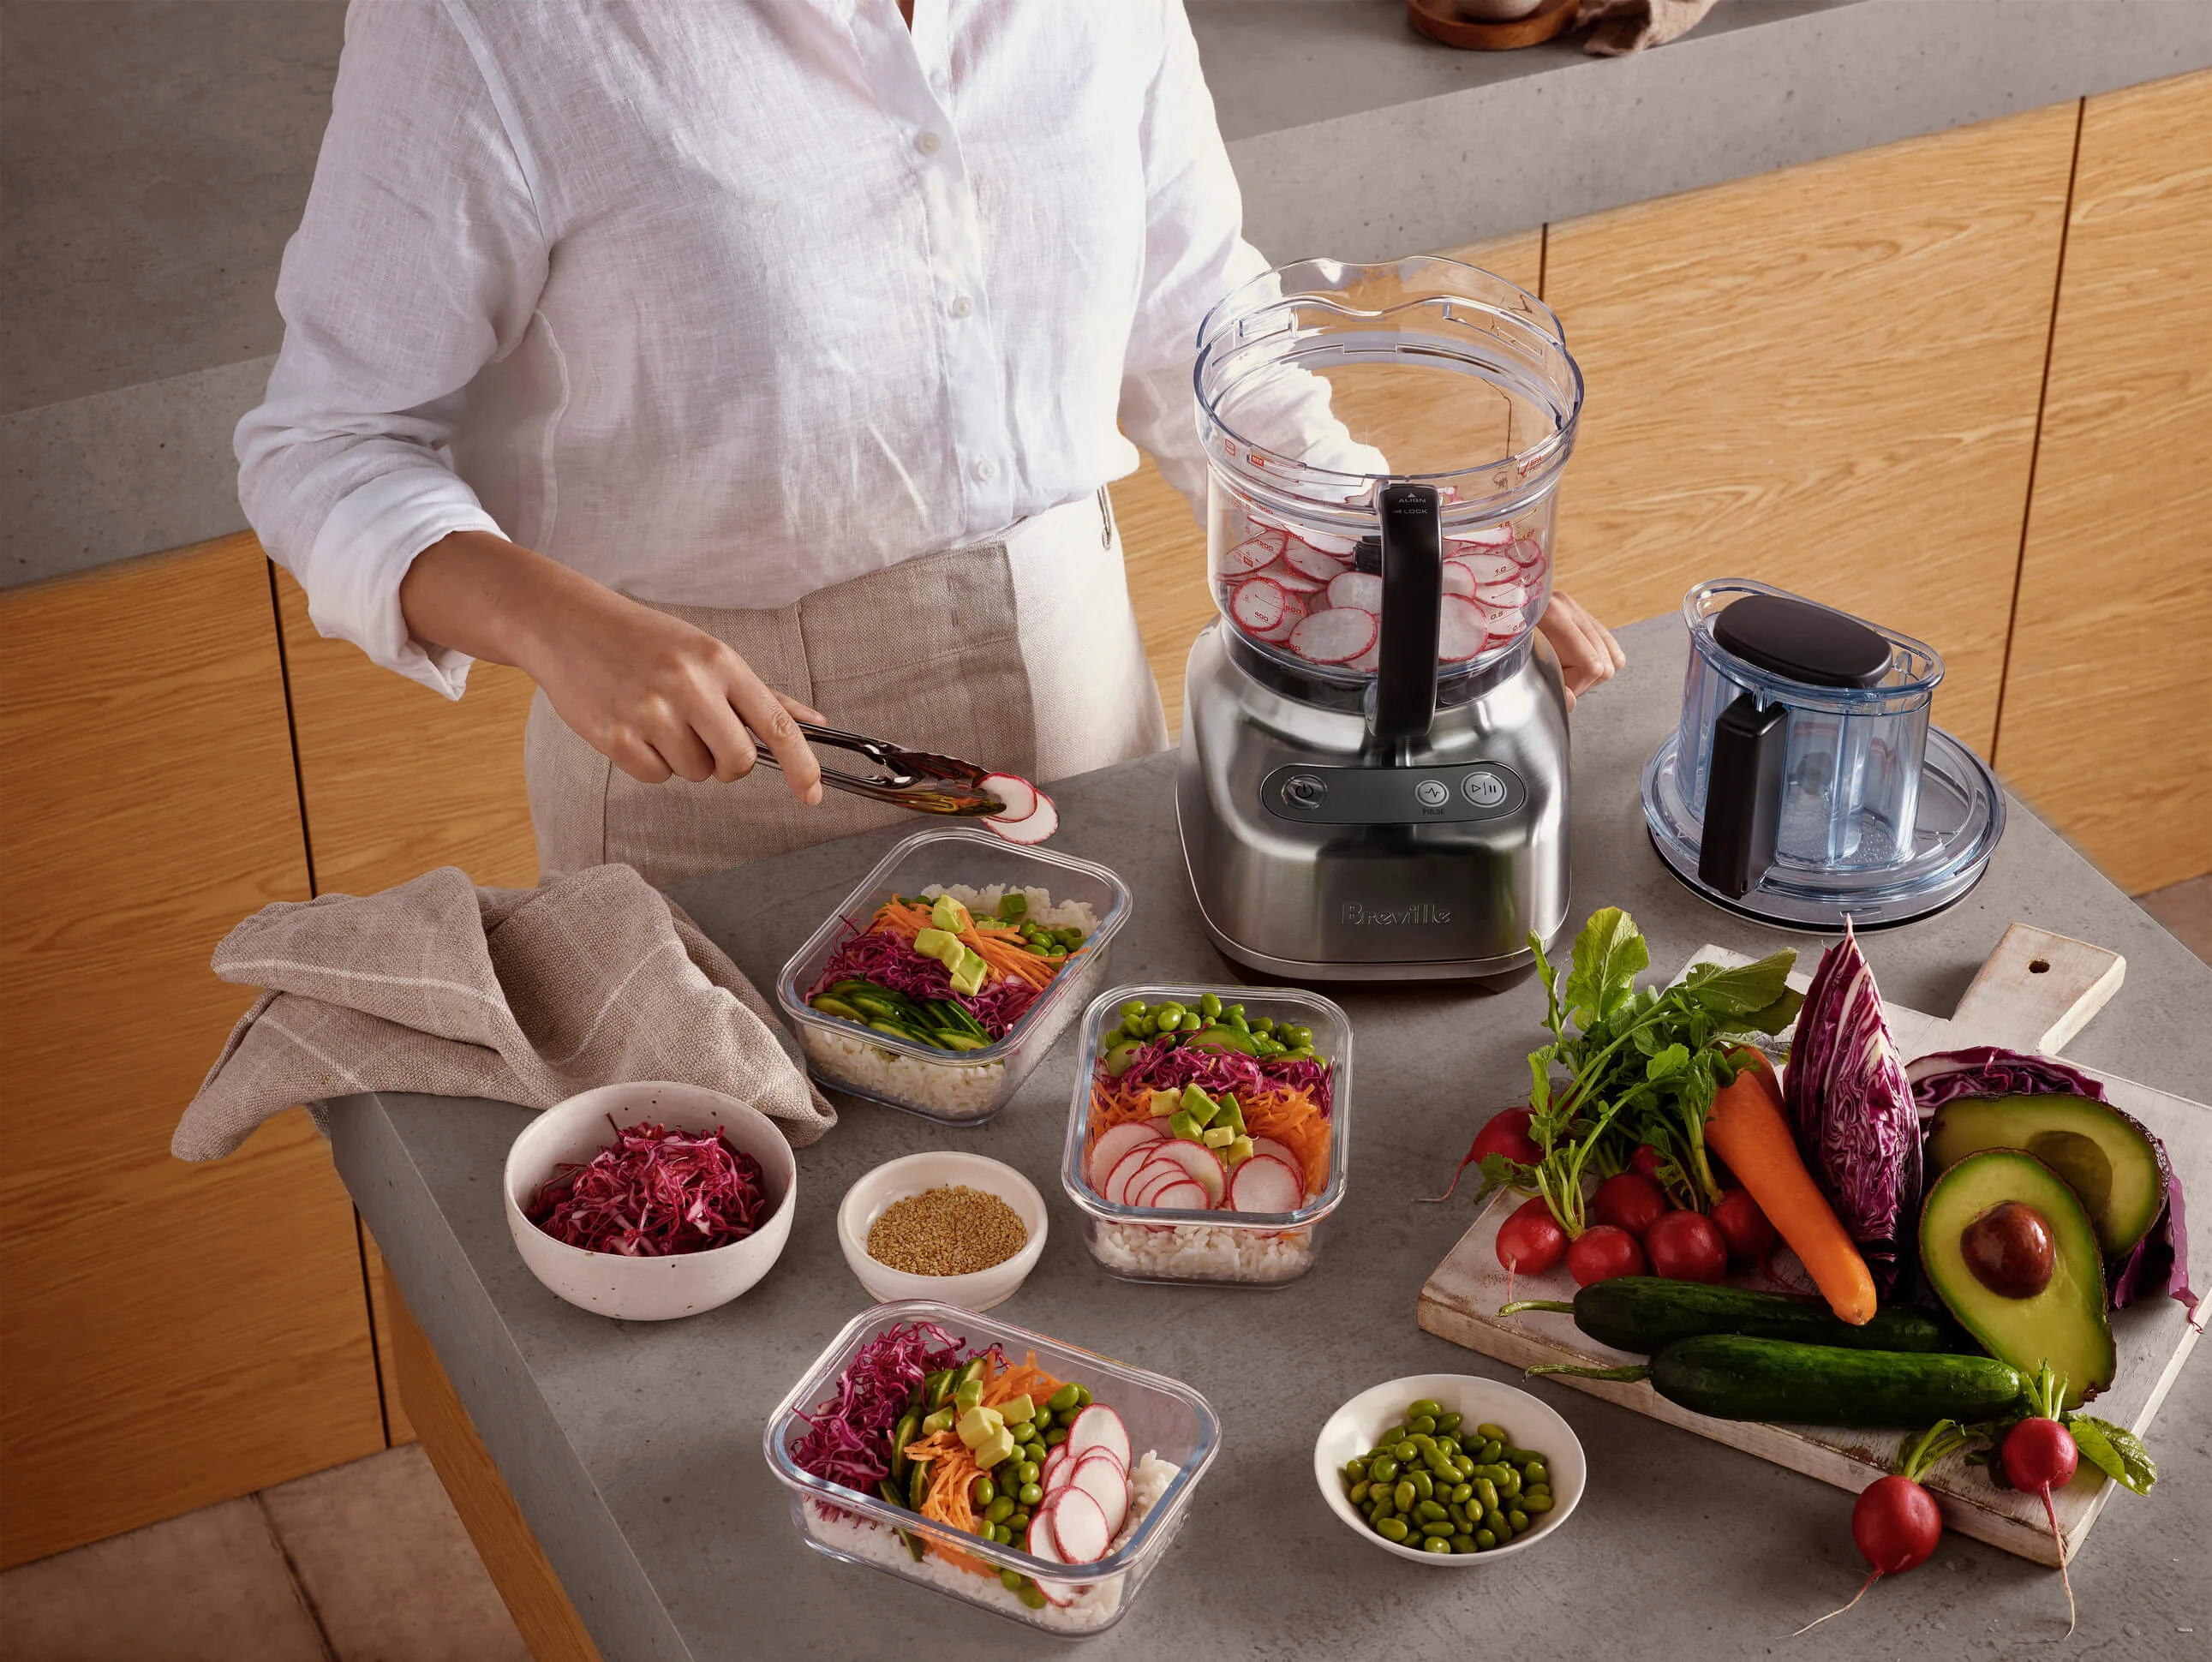
Whether it’s a food processor for blending strawberry puree or a countertop air fryer with pre-programmed dehydration functions built-in, Breville provides the tools you need to enjoy the sweetness of your favorite fruits—anytime, anywhere.
Sources:
1. National Center for Home Food Preservation. How do I dry…? https://nchfp.uga.edu/how/dry/sun.html
2. Epicurious. How to Dehydrate Fruit So That You Can Win at Life. https://www.epicurious.com/expert-advice/how-to-dehydrate-fruit-step-by-step-article
3. Slow Living Kitchen. How to Make Fruit Leather in a Dehydrator. https://slowlivingkitchen.com/how-to-make-fruit-leather/