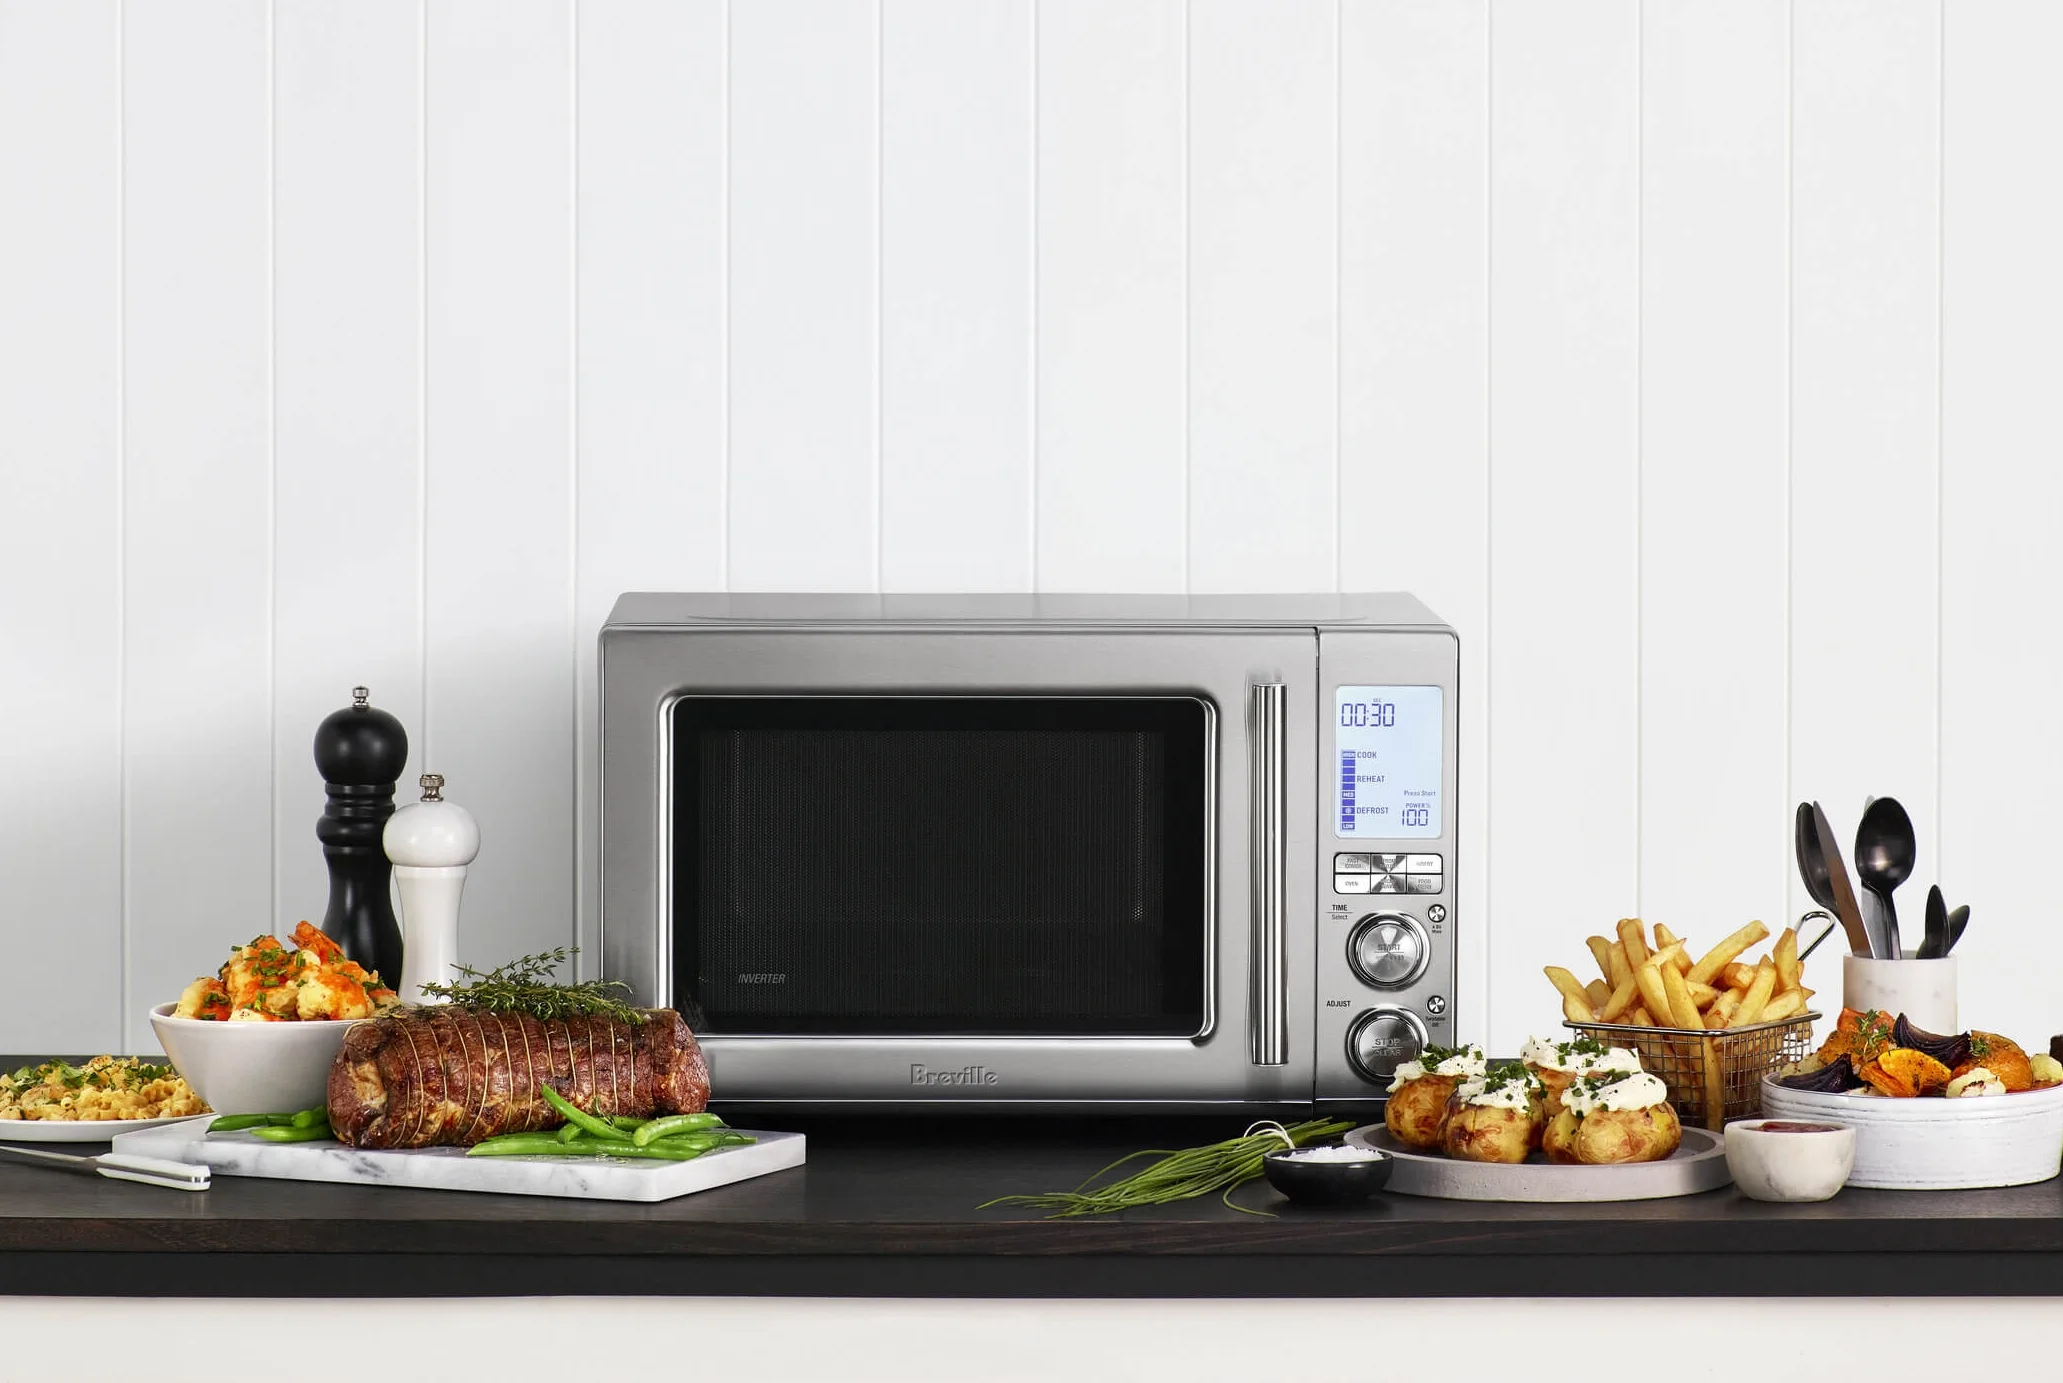
While you can purchase dehydrated food at the store, dehydrating it from home is a much more cost-effective option. Better yet, making dehydrated fruit leather or veggies is easy when you have the right tools.
In this beginners’ guide, we’ll explain how to dehydrate fruit using a dehydrator in ten simple steps. We’ll also share the benefits of dehydrating food, discuss which foods are best suited for dehydration, and even explain how you can rehydrate your dried food.
How to use a food dehydrator: 10 steps
Dehydrators extract water from food by surrounding it with a steady flow of warm air. These appliances do the majority of the work on your behalf. You just need to prepare your ingredients, load them in correctly, and select the right settings.
Here’s a ten-step process to do just that:
#1 Determine which foods you want to dehydrate
The first step is choosing the right foods to dehydrate. Some popular options include:
● Tropical fruits
● Citrus fruits
● Apples
● Bananas
● Kale, herbs, and other greens
● Tomatoes
● Mushrooms
● Legumes
● Lean meats
● Lean fish
While there is a vast array of foods you can dehydrate, it’s important to make sure you avoid dehydrating any foods that contain high amounts of fat, such as high-fat meats, avocados, or olives. The reason?
Fat doesn’t evaporate. Since dehydration relies on the evaporation of moisture, high-fat foods are more likely to spoil prematurely.
#2 Clean your food preparation area and ingredients
Dehydration preserves your food by making it difficult for bacteria, yeast, and mold to grow. Even so, it’s a good idea to wash away any pre-existing bacteria before you dehydrate.
You can do so by:
● Thoroughly cleaning your preparation area’s surfaces, equipment, and utensils
● Washing your hands
● Wearing clean gloves while preparing your food
● Cleansing veggies with an antibacterial vegetable cleaner
● Drying ingredients on clean paper towels
If you’re dehydrating fish or meat, you’ll want to cook it to a temperature that will kill off any bacteria. According to the U.S. Department of Agriculture, the minimum temperatures for fish, beef, and poultry are 145 degrees Fahrenheit, 160 degrees Fahrenheit, and 165 degrees Fahrenheit, respectively.
#3 Dice your food into thin, even slices
After cleaning and cooking your ingredients, you’ll want to slice them into pieces that are the same size and thickness. This way, each piece will dehydrate at the same rate.
#4 Pretreat your food
Pretreating your food can help fruits and vegetables retain their color, flavor, and texture throughout the dehydration process. It can also extend your food’s shelf life and shorten its rehydration time.
Here are some popular pretreatment methods for the following types of food:
● Fruits – Soaking fruits in lemon juice or an ascorbic acid solution for a few minutes can keep them from browning.
● Citrus – Immersing lemons, limes, and oranges in a bowl of fruit juice for a few minutes can enhance their flavor and maintain their color.
● Vegetables – Steaming or blanching veggies can help them stay vibrant post-dehydration. Generally, pretreatment is only recommended for tough veggies that you wouldn’t typically eat raw, such as broccoli, potatoes, or Brussels sprouts.
Pro tip: If you use thawed frozen vegetables in place of fresh ones, you can skip the blanching process. These veggies have already been cut and blanched on your behalf.
#5 Season your food lightly
If you want to flavor your food before you dehydrate it, keep in mind that it will shrink down in size considerably after it loses its water content, causing its flavor to become much more concentrated. Thus, you may want to use a light hand when sprinkling on salt, sugar, or spices.
#6 Place your food on the dehydrator’s trays
Now that your food is ready to go, you can spread it across your dehydrator’s trays. Make sure to position your pieces so that they don’t overlap. Overcrowding your dehydrator’s trays can prevent your food from emitting moisture evenly.
#7 Select your foods’ dehydration settings
Due to varying moisture content, some foods require more heat and longer dehydration times than others. For instance, meats typically need higher temperatures than vegetables.
While you can look up recommended dehydration times and temperatures online, your dehydrator’s manual will likely outline its guidelines for different types of food. Since dehydrators can vary, it’s best to follow your appliances’ specific instructions.
How to avoid case hardening
Case hardening occurs when you use a temperature that’s too high for your chosen food.
As its name suggests, case hardening causes the outer layer of your food to harden very quickly, producing a tough case.
This tough case prevents moisture from your food’s center from fully evaporating. In turn, your dehydrated goods can spoil from within.
You can speed up the dehydrating process without risking case hardening by:
● Preheating your dehydrator ahead of time
● Cutting your food into smaller pieces
● Only dehydrating items together if they require the same temperature
#8 Start your dehydrator
After loading your tray of food and selecting the proper settings, you can start your dehydrator and let it work its magic. While it should shut off after the appropriate amount of time, it’s a good idea to check on its progress occasionally.
You’ll know your food is ready when it’s 95% dehydrated. At this low moisture level, your food should be hard and crunchy throughout. If you notice any softness, stickiness, or sponginess inside, toss your tray back into your dehydrator and let it go for a little longer.
Pro tip: Another way to test your food’s moisture content is to place it in a lidded glass jar. If the jar fogs up right away, your food still contains too much moisture.
#9 Let your dehydrated food cool to room temperature
Once your food is sufficiently dehydrated, you can set it aside and let it cool to room temperature. This way, you won’t trap any heat-related condensation in its storage container.
#10 Store your dehydrated food
If you want your dehydrated foods to last for a long time, you need to store them correctly. Here are some storage best practices for dehydrated food:
● Store your dehydrated foods in airtight containers
● Vacuum-seal items you want to store for longer periods
● Keep your packaged dehydrated foods away from moisture, heat, and light
Proper food storage can expand your food’s shelf life considerably. For instance, dried goods stored in airtight containers often stay fresh for a minimum of a few months. Meanwhile, dehydrated goods stored in vacuum-sealed bags with oxygen absorbers have been known to last for several years.
Note: Do not store your dehydrated food in the freezer. While this storage location may sound like a good idea, it can cause ice crystals to develop inside the storage container, introducing moisture back into the equation.
How to rehydrate dehydrated food
Stocking your pantry with newly dehydrated goodies is a satisfying feeling. The only thing that tops it is rehydrating your food reserves and enjoying them in homemade dishes.
There are two main ways to rehydrate dehydrated food:
1. Soak the food in water (either hot or cold) until it reaches your desired hydration level.
2. Add the food to a soup, stew, stir fry, or slow cooker with some extra water.
You can also enjoy some of your dehydrated food as is—dehydrated bananas, kale chips, and jerky are just a few examples of scrumptious dehydrated snacks.
The benefits of buying a food dehydrator
Now that you know how to use a dehydrator, you may be wondering what benefits it can bring to your kitchen.
By investing in a food dehydrator, you can:
● Save money on food by taking advantage of grocery store sales and buying in bulk (simply dehydrate the items you don’t have time to eat fresh)
● Preserve food while maintaining a higher amount of its nutrient content than you can with other methods.
● Have healthy ingredients and snacks on hand at all times
● Build a stash of non-perishables that aren't dependent on electricity
● Enjoy plenty of budget-friendly dehydrated snacks, such as dried fruit and jerky
Dehydrate your food with a Breville convection oven
While dehydrating has been around for hundreds of years, using a dehydrator has made this method of food preservation a simple, stress-free process. By adding a dehydrator to your kitchen’s arsenal, you can enjoy all of the benefits listed above.
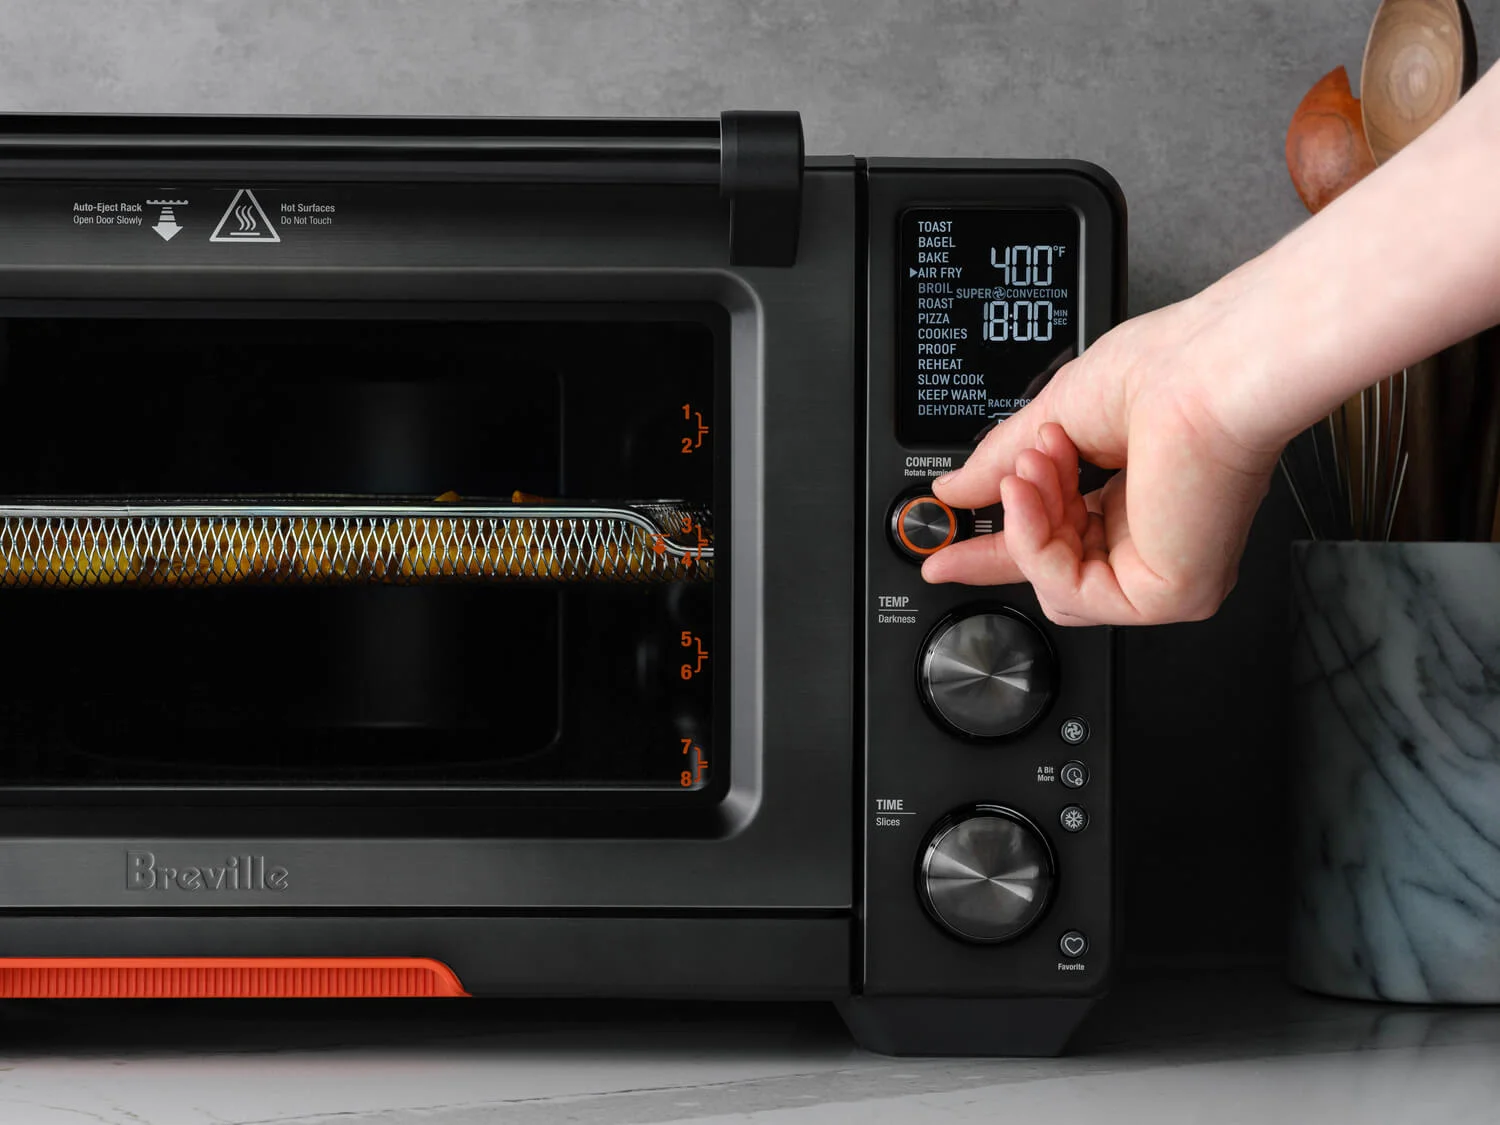
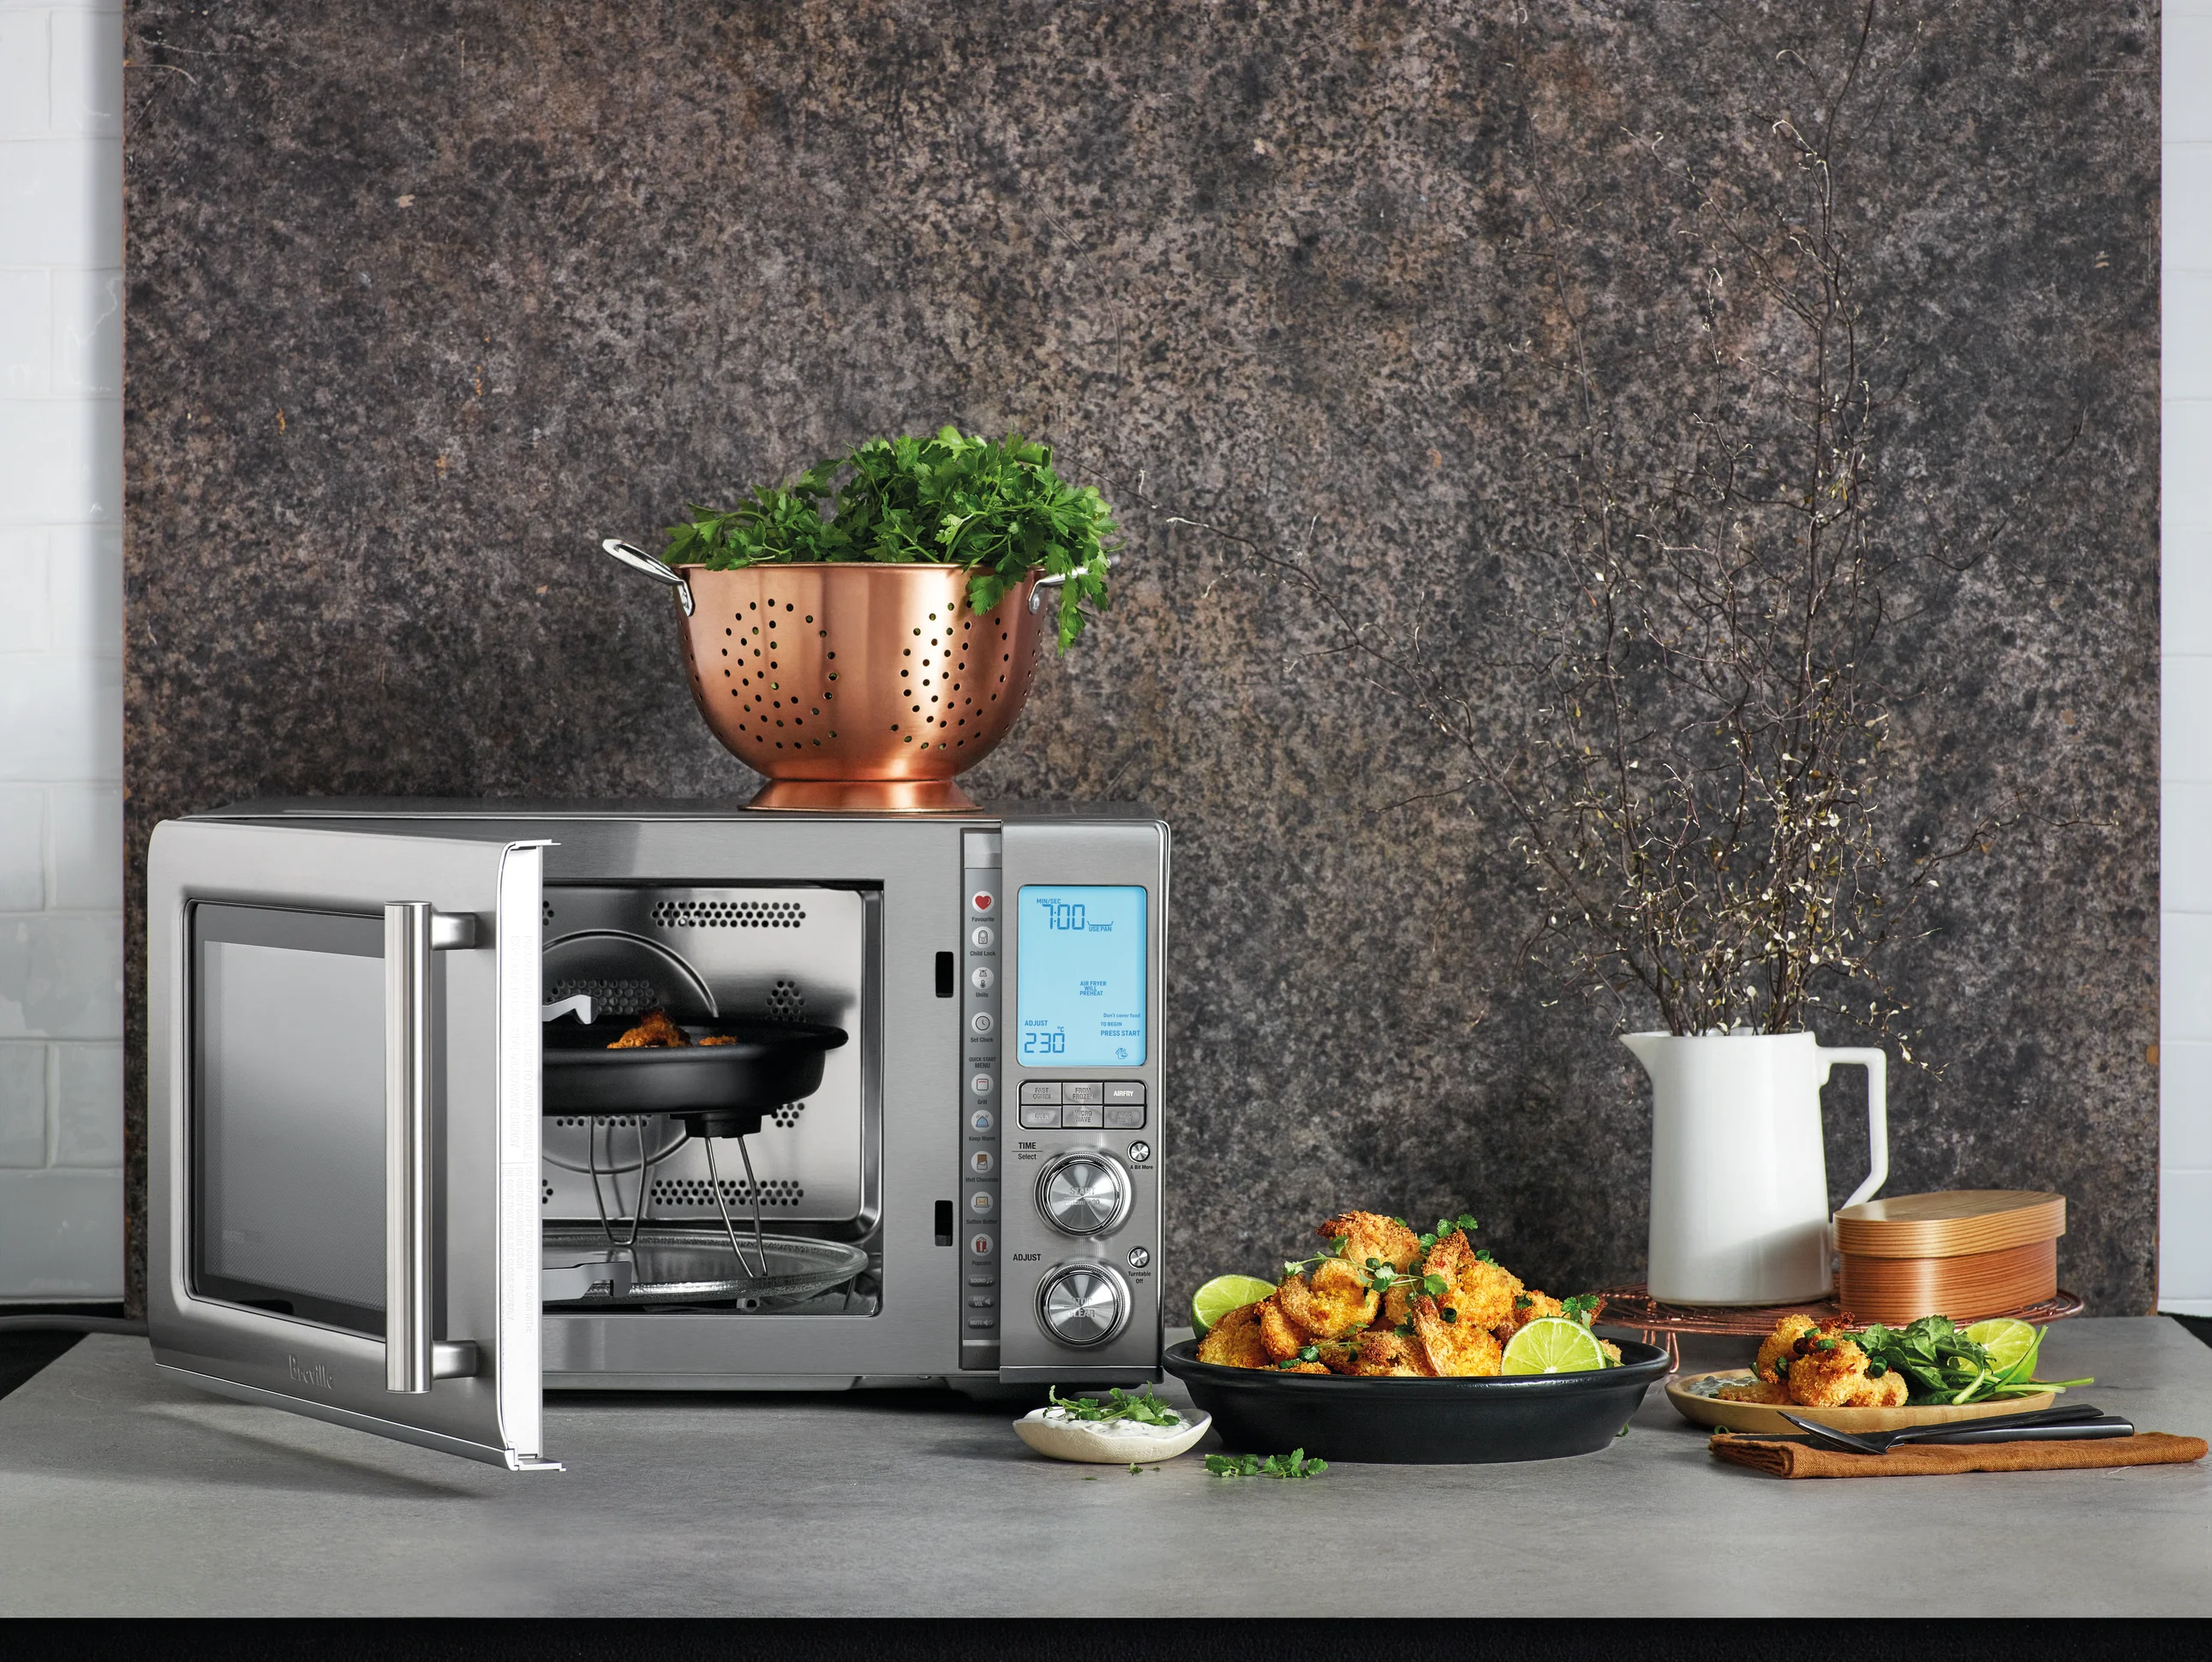
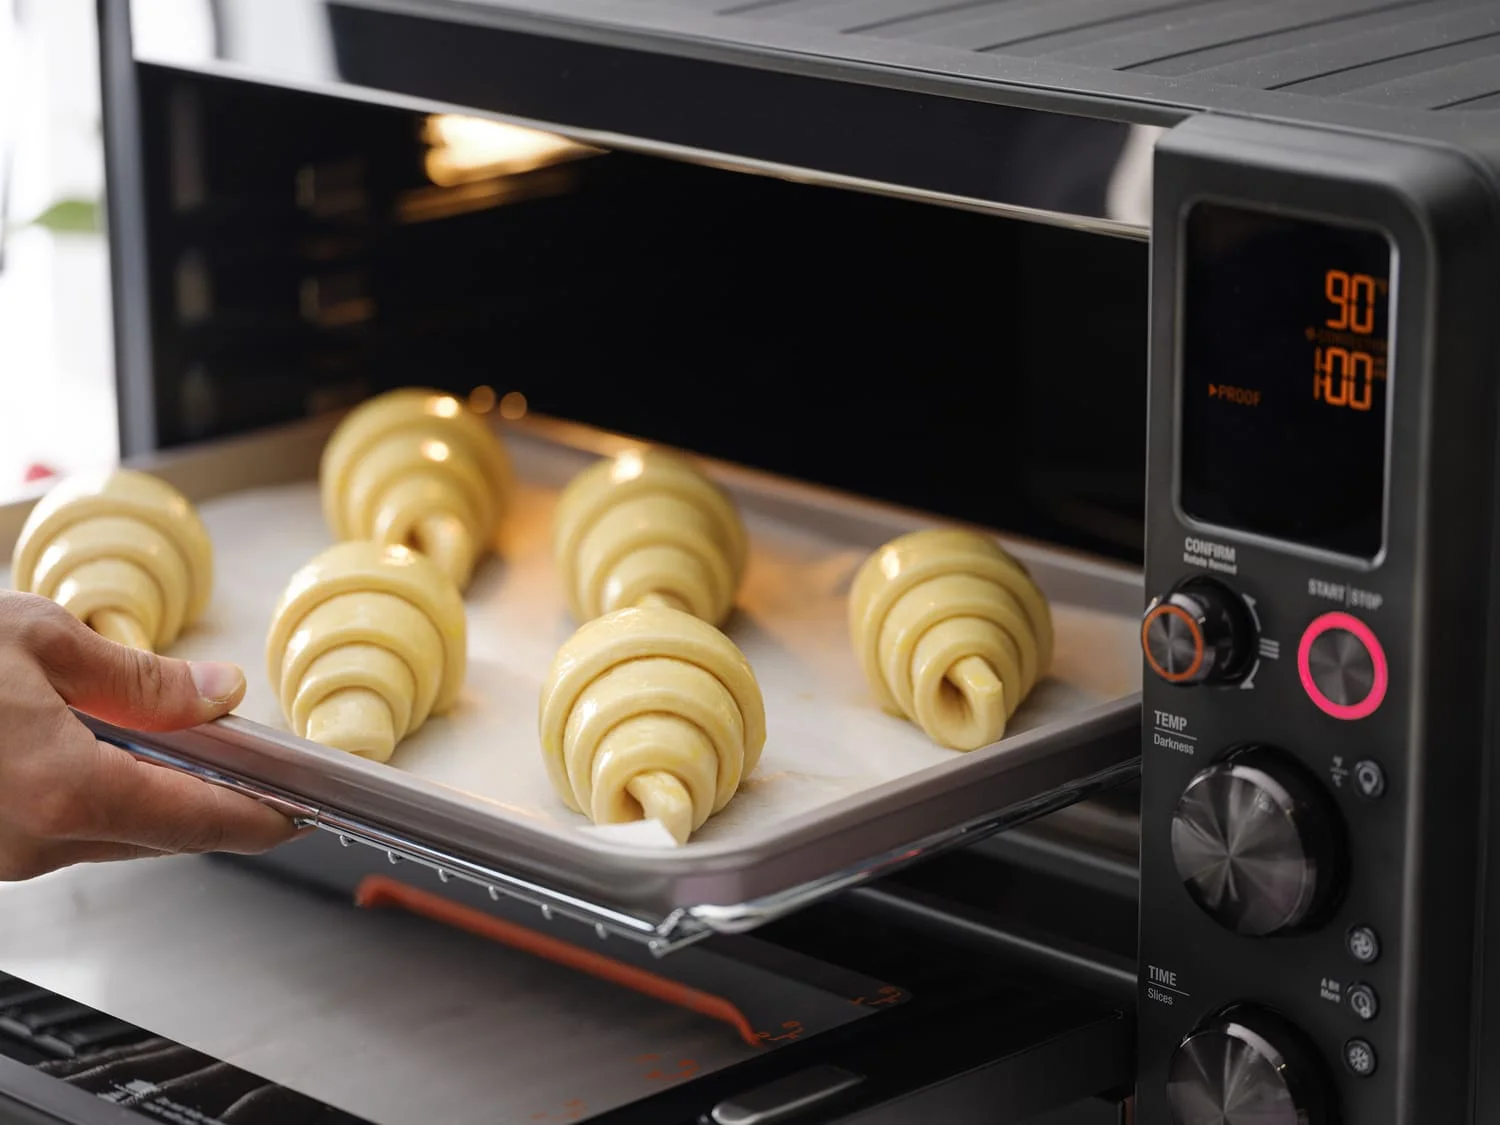
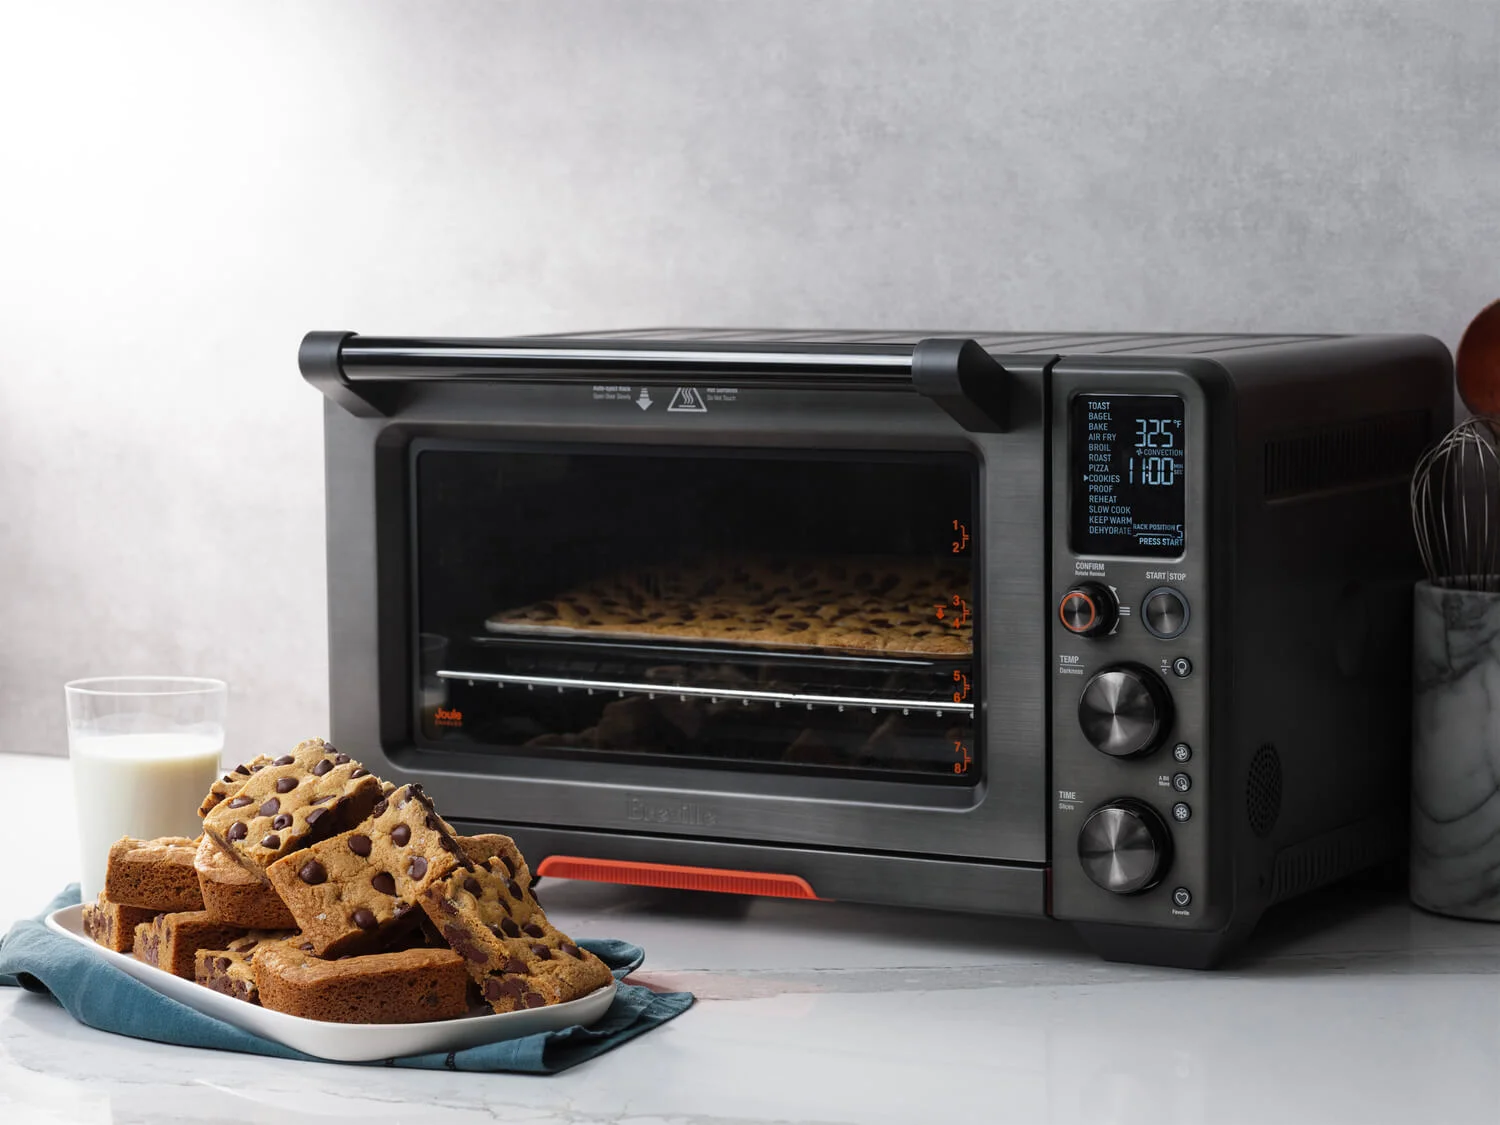
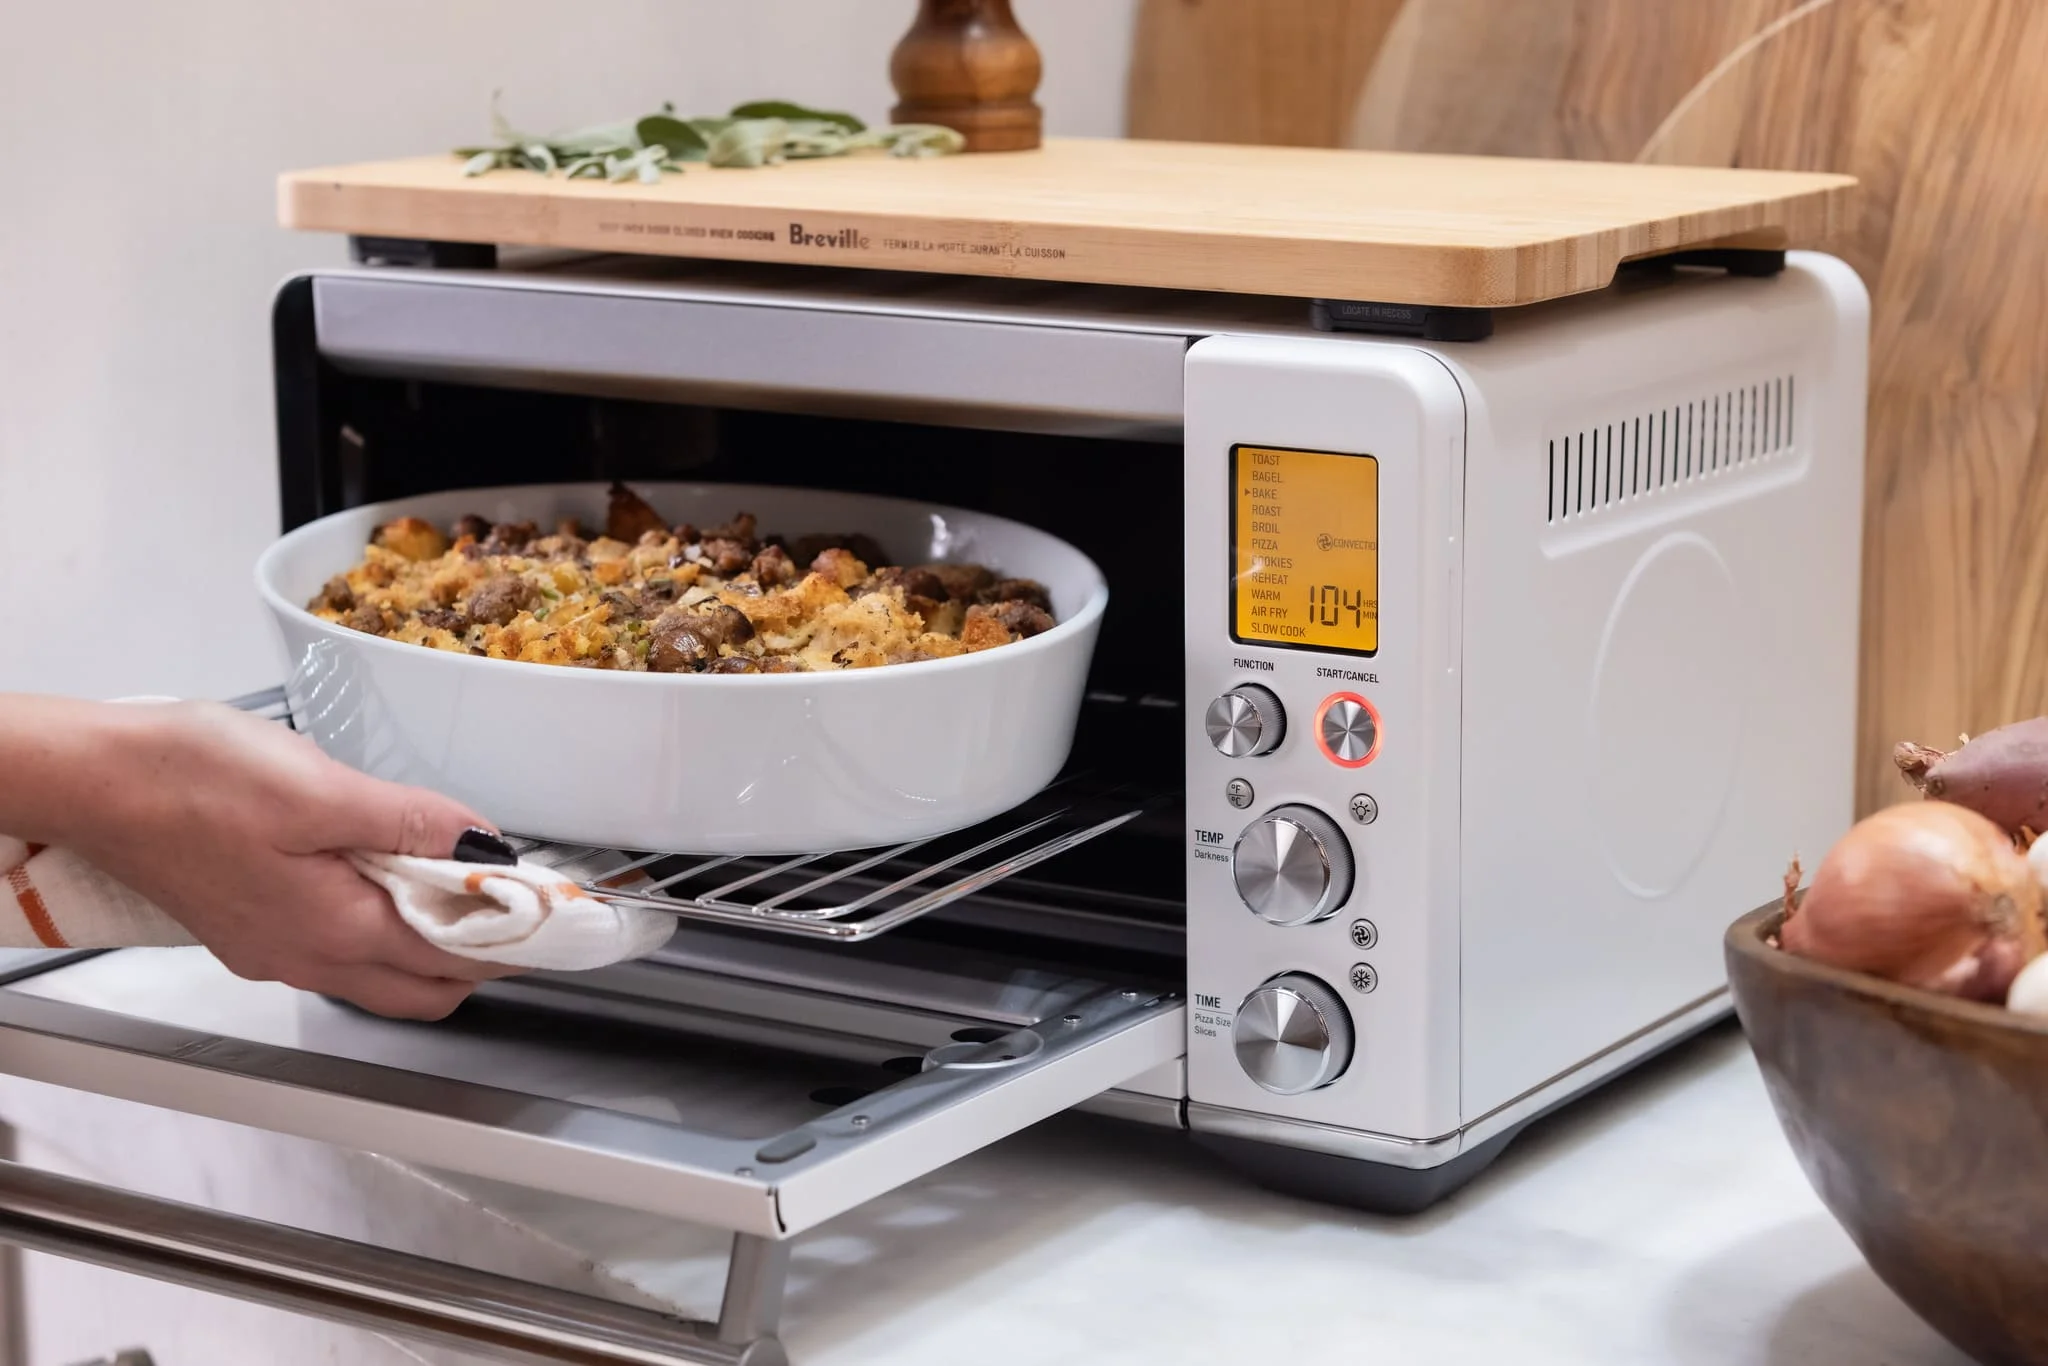
If you’re in the market for a dehydrator, Breville has high-quality options. Our Smart Oven® Air Fryer Pro and Joule® Oven Air Fryer Pro allow you to dehydrate up to four trays of food at a time. Using their dual-speed convection fans and PID temperature control technology, these versatile machines can also:
● Air fry
● Bake
● Broil
● Roast
● Warm
● Reheat
● Slow cook
● Proof
Now that you know how to use a food dehydrator, why not put your newfound knowledge to the test? Shop from our selection of air fryers today.
Sources:
1. Britannica. Dehydration. https://www.britannica.com/topic/dehydration-food-preservation
2. WebMD. Dehydrating Food: Is It Good for You. https://www.webmd.com/diet/dehydrating-food-good-for-you
3. USDA. Safe Minimum Internal Temperature Chart. https://www.fsis.usda.gov/food-safety/safe-food-handling-and-preparation/food-safety-basics/safe-temperature-chart
4. Penn State. Let's Preserve: Drying Fruits and Vegetables (Dehydration). https://extension.psu.edu/lets-preserve-drying-fruits-and-vegetables-dehydration